Try the following steps to fix a leaking ball valve:
- Shut off the fluid flow to the leaking valve.
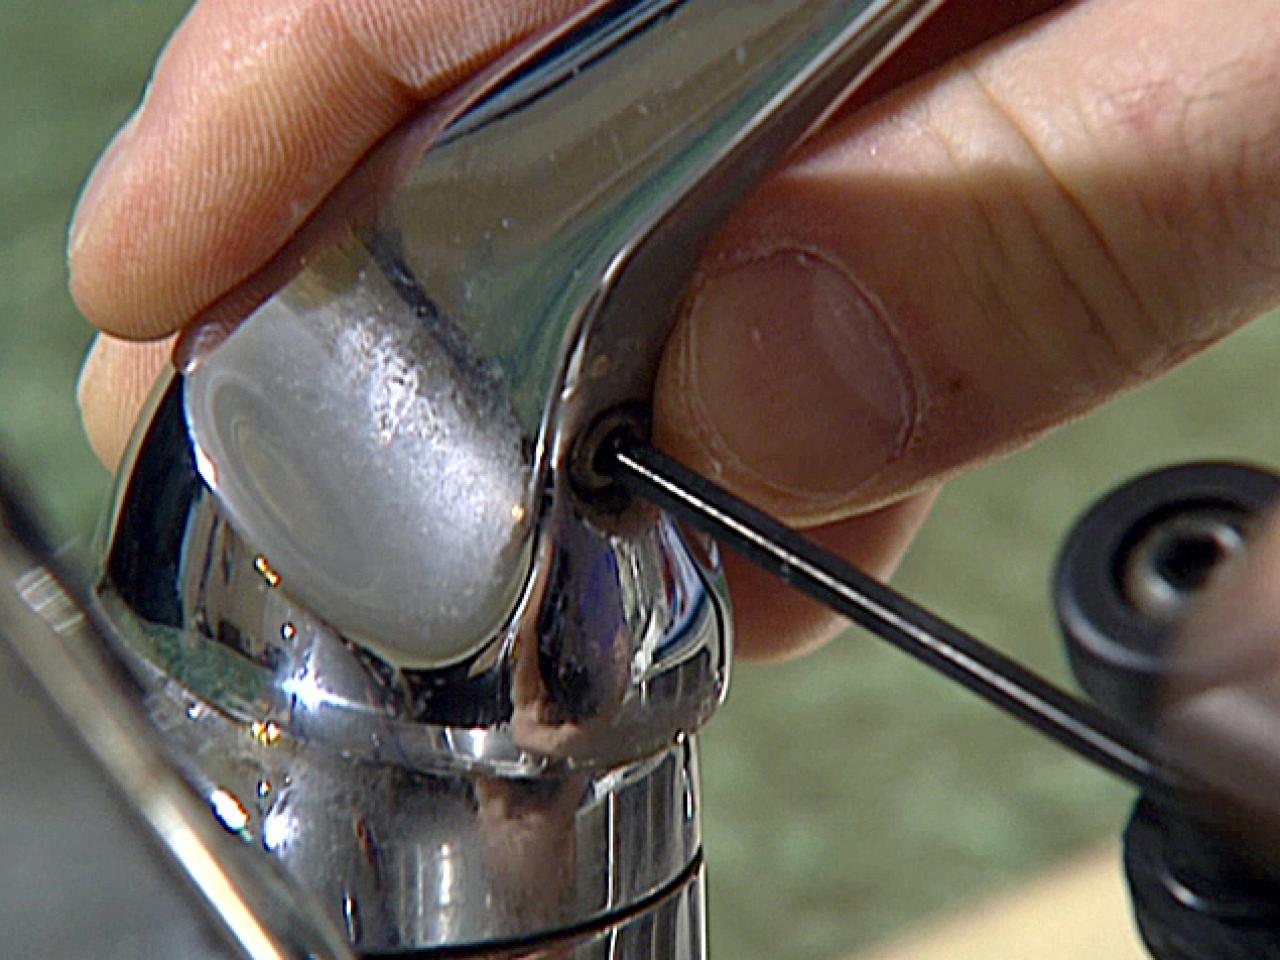
- Remove the handle from the stem.
- Loosen and remove the packing nut.
- Inspect the packing glad and internal components closely. Look for damage or signs of wear and tear. ...
Full Answer
How do you fix a leaking ball valve?
Try the following steps to fix a leaking ball valve:
- Shut off the fluid flow to the leaking valve.
- Remove the handle from the stem.
- Loosen and remove the packing nut.
- Inspect the packing glad and internal components closely. Look for damage or signs of wear and tear. ...
How to fix a leaky ball valve?
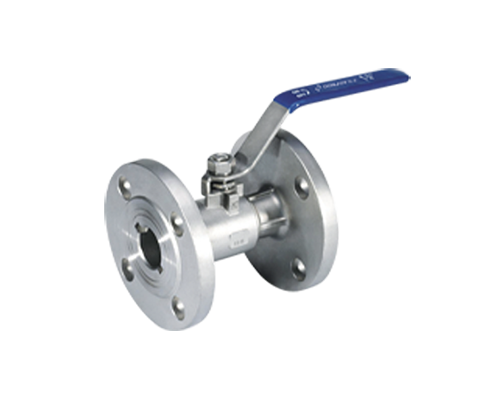
“The country is now among a few in the world with this knowhow,” Majid Chegeni was also quoted as saying by the Oil Ministry’s news agency Shana. A fully welded valve is designed with a welded and forged body to reduce weight and increase strength while eliminating several potential leak points.
Can you fix a leaking ball valve?
The only repair for a ball valve is replacing the packing washer. If the actual ball on the valve becomes deteriorated, it will leak. In that case, the entire valve must be replaced. Moreover, how do I fix a leaking ball tap? Loosen the set screw and take off the handle. Use a wrench to remove the cap.
How do you replace ball valves?
- 2 Remove Old Fill Valve. The valve nut locks the toilet valve body into the toilet tank. ...
- 3 Adujst New Fill Valve. Toilets vary in size. ...
- 4 Insert New Fill Valve and Connect Supply Line. The below installation directions are for replacing a fill valve, if you have a specific toilet fill valve kit, follow those ...
- 6 Adjust Water Level. ...
Can a leaky ball valve be repaired?
The only repair for a ball valve is replacing the packing washer. If the actual ball on the valve becomes deteriorated, it will leak. In that case, the entire valve must be replaced.
How do you fix a leaking ball valve handle?
0:020:44How to Fix a Leaky Water Valve (Ball Valve) - YouTubeYouTubeStart of suggested clipEnd of suggested clipThe handle for the ball valve then underneath there's another nut use a 12 millimeter wrench or halfMoreThe handle for the ball valve then underneath there's another nut use a 12 millimeter wrench or half inch wrench to tighten it clockwise. All it takes is a little bit once it's tight the leak should.
What would cause a ball valve to leak?
Common causes of valve leakage Valves can leak for a variety of reasons, including: The valve is not fully closed (e.g., due to dirt, debris, or some other obstruction). The valve is damaged. Damage to either the seat or the seal can cause leakage.
How do I fix a leaking ball?
To mend this leak, inflate the ball until it is about 75 percent full. Use a ball repair sealant that can be found at your local sporting goods store. Wet the sealant can's insertion needle with water, then push it all the way into the valve. Spray the repair sealant into the ball for five to six seconds.
Can you over tighten a ball valve?
Though valve breakage is a rare occurrence, never underestimate a poorly trained installer with a big wrench. This is a threaded needle valve that was severely over-tightened. Unfortunately, if a compression valve or fitting has sustained this kind of damage from over-tightening, you should replace it.
How do you stop a water valve from leaking?
First shut off the water to the leaking water valve. Next remove the handle from the stem and then loosen and remove the packing nut. Remove the old washer and slide on the new one. Reinstall the packing nut, tighten lightly with a wrench (don't over tighten at this or any other point) and reattach the handle.
How do you service a ball valve?
Steps to Fix a Ball ValveTurn off Water Supply. This first step is extremely important because without making sure that the water is properly turned off, the replacement could be interrupted. ... Remove and Disassemble the Ball Valve. ... Inspect Ball Valve Parts. ... Replace Ball Valve.
Can ball valves leak air?
Ball valves can burst due to a variety of reasons. Leakage can occur when the valve isn't closed correctly due to debris or if the seal or valve is damaged.
Do ball valves have packing?
Ball valves also have a small packing nut that sometimes requires adjustment. But once tightened, they rarely leak again. Soldering ball valves onto copper water lines is easy. The water lines must be void of any water, so be sure to shut off the main water valve in your home and drain the system.
How do you find a hole in a ball?
Rather, the simplest and best way to find a hole or leak in a basketball is to submerge the basketball in water. What is this? Once the basketball has been submerged, look for where air bubbles are exiting and coalescing from the ball.
How do I fix a leaky single handle faucet?
1:473:00How to Fix A Dripping or Leaky Single Handle Faucet - YouTubeYouTubeStart of suggested clipEnd of suggested clipFor cartridge faucets remove the cap and take out the screw and clip. Then take off the handle. AndMoreFor cartridge faucets remove the cap and take out the screw and clip. Then take off the handle. And trim ring unscrew the retainer and pull out the cartridge. Insert a new cartridge.
How does ball doctor work?
Ball Doctor seals leaks and punctures in all valve inflateable balls without a bladder. Simply insert the syringe tip into the ball valve and depress the plunger. Then pump up the air pressure, bounce the ball vigorously for several minutes, and its ready to play!
How do you fix a single handle ball type bathtub faucet?
0:172:38Repairing a Leaky Single Handle Tub/Shower Ball-Type FaucetYouTubeStart of suggested clipEnd of suggested clipTurn off the main water supply to your home. For an obstacle remove the index button by prying offMoreTurn off the main water supply to your home. For an obstacle remove the index button by prying off with the screwdriver. Then unscrew the handle screw. And remove the handle.
Where is the packing nut on a ball valve?
Under the handle of these ball valves there's a nut. This is called the “packing nut”.
How do you tighten a ball valve packing nut?
0:291:50How to Tighten a Leaking Packing Nut on a Water Heater - YouTubeYouTubeStart of suggested clipEnd of suggested clipJust usually about an eighth of a turn or. So. And after tightening that just take a towel. And dryMoreJust usually about an eighth of a turn or. So. And after tightening that just take a towel. And dry all around because those drips tend to show up within just about three or four seconds.
How do you service a ball valve?
Steps to Fix a Ball ValveTurn off Water Supply. This first step is extremely important because without making sure that the water is properly turned off, the replacement could be interrupted. ... Remove and Disassemble the Ball Valve. ... Inspect Ball Valve Parts. ... Replace Ball Valve.
Why do ball valves leak?
Reasons a Ball Valve Leaks Internally 1 Improper transportation or hoisting damage to the integral valve can lead to the ball valve leaking internally. 2 If the ball valve is not dry before leaving the factory, the sealing surface can corrode with rust and leak. 3 If the safeguard is not implemented correctly at the construction site, rainwater and debris can get into the valve, causing leakage. 4 If no grease is injected into the valve seat during installation, impurities can enter the valve seat, causing internal leakage. 5 If the valve is not in the full open position when installed and welded, this can damage the ball. If there is weld splatter in the switch, it will damage the valve seat, and this will form internal leaking. 6 If the limit isn’t accurate during installation or the stem’s drive is misaligned, the valve will leak.
How much does it cost to replace a ball valve?
To have a plumber replace a ball valve typically costs $175 to $250. Most of the price is for labor as the materials are typically under $25. The ball valve replacement price will depend on the job size, conditions, and finish options that you choose.
What is the difference between a globe valve and a ball valve?
The main difference between a globe valve and a ball valve is the way that they close. A globe valve uses a plug , or stem , that closes against the flow. A ball valve has a gate, or ball, that closes across the flow. Globe valves are good options for regulating the flow of liquid. Ball valves are good options for on and off controls without causing ...
How long do ball valves last?
The average life expectancy of a ball valve is eight to ten years. However, ball valves typically give out due to wear and tear because of the constant use by its rotation operation. Typically, the rotation is a ¼-turn from the horizontally mounted handle.
What is a compact ball valve?
Compact ball valves are one-piece ball valves manufactured with glue or threaded ends. You’ll typically find true union ball valves mostly in industrial applications. True union ball valves come with union ends in either socket or threaded type connections making them easy to repair.
What are the two types of ball valves?
There are two common types of ball valves: compact ball valves and true union ball valves. Compact ball valves are one-piece ball valves manufactured with glue or threaded ends.
What happens if you don't use the ball?
If you don’t use the ball for a long period, the valve seat and the ball will lock. This damages the sealing surface when opening and closing the valve and forms internal leakage. If the ball valve is tilting two to three degrees, this can result in internal leakage.
Leakage of Ball Valve Stem and Remedy
From time to time, sanitary ball valves can leak from the valve stem no matter how well you care for them. If you find a leaking ball valve in your piping system, you’ll need to find the root cause of the stem leakage in order to troubleshoot and ensure the normal function of the ball valve.
Conclusion – Fixing a leaking valve
Fixing a leaking ball valve is not as hard as you may think. In fact, the most difficulty you will encounter will most likely be in removing and reinstalling the valve. If you need any help with the repair or replacement process, please contact us at Adamant Valves, your trusted valve supplier. We’re always here to help.

Step 1 – Empty Cistern
- To begin the process of fixing a leaky ball valve, ensure that the first step you take is to turn off the water supply to the toilet. At this stage, you can remove the lid of the cistern and set it aside to allow you to empty the water within the tank. This step is required to give you better access to the components that you need to repair. After ...
Step 2 – Inspection
- Once the cistern lid has been removed and the water is cleared, you will be in a position to examine the components of the ball valve within the tank to determine the cause of the leak. No matter what defect is causing the problem, it is likely to be more prudent to install a replacement rather than attempt repair. All the relevant components will be available within a kit that can be o…
Step 3 – Remove Existing Parts
- Disassemble the mechanism for the existing valve by initially removing the angled pin that holds up the float arm, this should be done by straightening the arm and removing any fasteners before sliding it out of place. You will then be in a position to unscrew the end cap which will allow you to remove the piston which controls the float arm. With the components always being suspended i…
Step 4 – Assemble
- Make use of the instructions that come with the new ball valve kit as well as your knowledge of the original assembly. This will be required to help you assemble the new components. Reverse the work you have previously undertaken by slipping the washer and piston into place first. Before screwing the end cap back into place, rub a small amount of petroleum jelly onto the thread to e…
Step 5 – Test
- Once the assembly is complete, turn on the water supply and watch the cistern refill to make sure that the leak has been repaired.