How to Fix a Leaky Single-Handle Sink Faucet
- Method 1 Removing the Faucet Handle. Turn off the water supply to your faucet. ...
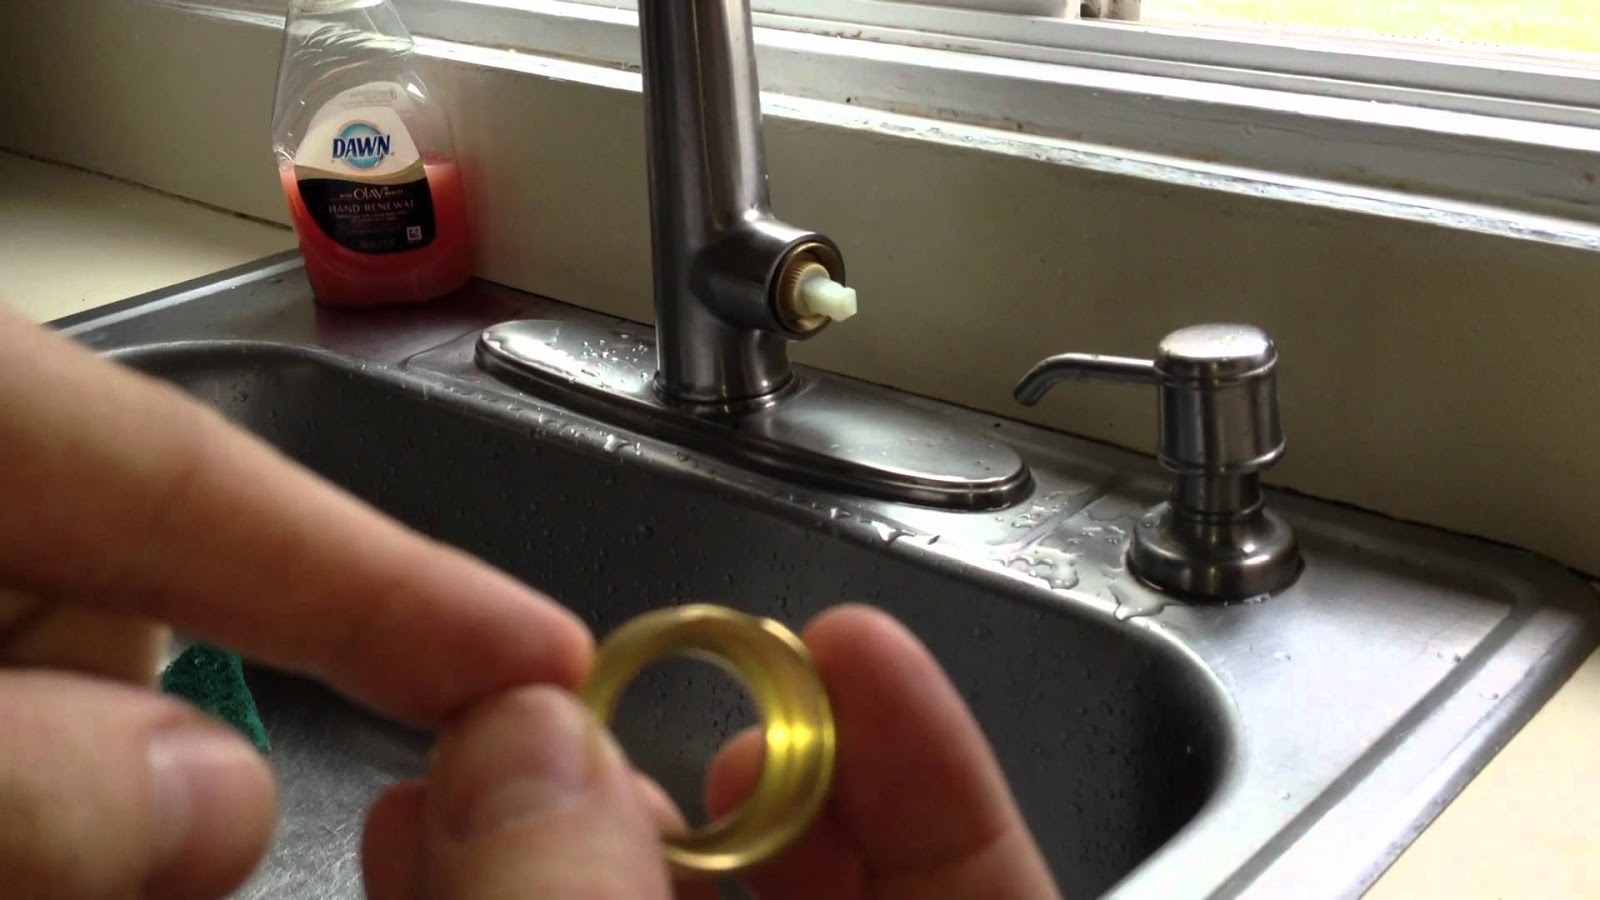
- Method 2 Repairing a Ball Faucet. Unscrew the metal cap with a pair of pliers. The metal cap is the cylindrical decorative piece surrounding the ball in your faucet.
- Method 3 Replacing a Cartridge or Ceramic Disk Faucet. Unscrew the retainer nut with a wrench. ...

How to fix a stripped faucet handle fast?
Install the New Faucet Stem
- Use a piece of cloth to clean inside the shower valve to remove any debris or mineral deposits.
- Push in the new faucet stem and tighten it using the wrench.
- Install the escutcheon as it was.
- Slide in the handle and secure it with a screw.
- Try turning the faucet handle and check if it is working as it should.
- Unplug the shower/tub drain.
How to fix a leaking outdoor faucet?
Start with the retaining nut, then look for other problems
- Tighten retaining nut. If you're lucky, you can fix your leaking faucet by simply tightening the nut under the handle. ...
- Remove the stem. Next, remove the faucet stem. ...
- Replace washer assembly. Keep track of the parts as you disassemble the faucet so you can install the new ones in the same order.
- Remove the vacuum breaker cap. ...
- Vacuum breaker parts. ...
How do you fix a leaking kitchen faucet?
Things You'll Need
- A Phillips-head (+) and flat-head screwdriver (-); even if your faucet uses Phillips-head screws, a flat-head screwdriver can be useful for prying
- Plumber’s grease (heat-resistant and non-toxic so it can be used with hot, potable water)
- Pliers
- Wrench
How to fix a leaking bathtub faucet quick and easy?
- The first step is to remove the faucet spout. ...
- Use a utility knife to score the sealant where the spout and bathtub wall meet for easier removal.
- Remove the length of pipe, called a pipe nipple, with a wrench.
- Wrap the threads of both ends of the nipple with plumber’s tape or Teflon tape.
- Install the nipple into the 90-degree elbow pipe within the wall. ...

Why does my faucet leak from the handle?
Answer: The most common reason for a faucet to leak under the handle or knob is because of a worn rubber o-ring or seat washer. Replacing the rubber o-ring or seat washer will fix the leak.
How do I stop a leaky faucet handle?
1:382:54How To Fix A Dripping or Leaky Double Handle Faucet - YouTubeYouTubeStart of suggested clipEnd of suggested clipFirst take off the handle. Then unscrew the valve stem on the stem remove the old gasket screw. AndMoreFirst take off the handle. Then unscrew the valve stem on the stem remove the old gasket screw. And seat washer. Apply some plumbers grease.
How do I fix a leaky kitchen faucet handle?
0:402:02Stop Faucet Handle Leaking - How to Replace a Kitchen Faucet ValveYouTubeStart of suggested clipEnd of suggested clipWith the new valve in place reinstall the mounting nut until it is hand tight. Then give it anotherMoreWith the new valve in place reinstall the mounting nut until it is hand tight. Then give it another quarter to half turn with the lock jaw pliers. Next replace the bonnet. Fit on the handle.
How do you fix a leaky bathroom faucet single handle?
1:092:32How to Repair a Leaky Lavatory Faucet - YouTubeYouTubeStart of suggested clipEnd of suggested clipYou may need a small flat-head screwdriver to pry the cap off using a Phillips head screwdriverMoreYou may need a small flat-head screwdriver to pry the cap off using a Phillips head screwdriver remove the handle screw gently pull on the handle. And remove.
Why is my kitchen faucet handle leaking?
Continuous leak when faucet is off: When the faucet is off, water leaks from under the handle area. With this issue, dirt and debris have collected in the valve/cartridge which prevents the valve from properly controlling the flow of water. The valve/cartridge is located under the handle.
How do you fix a bathroom faucet handle?
0:301:32Handles: Repair and Replace (2 Handle Bathroom Faucet) - YouTubeYouTubeStart of suggested clipEnd of suggested clipScrewdriver. Now use a Phillips screwdriver to unscrew and remove the handles from the cartridge.MoreScrewdriver. Now use a Phillips screwdriver to unscrew and remove the handles from the cartridge. Place the new handles on and tighten using the Philips screwdriver. Finally pop the caps back.
How do you remove a single handle faucet handle?
1:4112:21How to Replace a Kitchen Faucet With a Single Handle | The Home DepotYouTubeStart of suggested clipEnd of suggested clipUse an adjustable wrench to remove each nut by turning it counterclockwise.MoreUse an adjustable wrench to remove each nut by turning it counterclockwise.
How do you tighten a faucet handle?
0:523:46How To Tighten A Loose Faucet Handle-Step By Step TutorialYouTubeStart of suggested clipEnd of suggested clipSo I always just recommend using your fingernail. As. You can see my fingernails are not long by anyMoreSo I always just recommend using your fingernail. As. You can see my fingernails are not long by any means. So you don't really need a long fingernail to do it. But get your fingernail under the lip.
How do you fix a bathroom faucet handle?
0:301:32Handles: Repair and Replace (2 Handle Bathroom Faucet) - YouTubeYouTubeStart of suggested clipEnd of suggested clipScrewdriver. Now use a Phillips screwdriver to unscrew and remove the handles from the cartridge.MoreScrewdriver. Now use a Phillips screwdriver to unscrew and remove the handles from the cartridge. Place the new handles on and tighten using the Philips screwdriver. Finally pop the caps back.
How to Fix a Dripping or Leaky Double-Handle Faucet
Learn how to repair three types of double-handle faucets: ceramic disc, compression/reverse-compression and cartridge.
Repairing Different Types of Faucets
Keep in mind that some cartridge bodies and ceramic disc bodies/cylinders can look similar. In most cases, the cartridge body doesn't have moving parts. The ceramic disc body/cylinder does have moving parts that pivot to open the ports on the bottom.
Locate the Leak
Determine which side of your faucet is leaking by shutting off the water supply valves one at a time. If the leak doesn’t stop after the first valve is turned off, it’s the other line that’s leaking.
Ceramic Disc Faucets
This type of faucet uses a cylinder with tiny discs on the bottom that control water flow. The most successful repair typically replaces the entire cylinder.
Compression & Reverse-Compression Faucets
In this repair, you’ll replace the washer and O-ring or gasket on the valve stem, as well as the valve seat in the faucet.
Aerator
After reassembling your faucet, run the water for a few minutes to clear debris from the new parts. Replace the aerator.
How to Fix a Dripping or Leaky Single-Handle Faucet
Learn to repair three types of single-handle faucets: ball, cartridge and ceramic disc.
How long does water run in a faucet?
The water needs to run for one minute. For kitchen & bathroom faucets, be sure to put a bucket upside down over top of the faucet in order to direct the water down to the sink, or water will spray everywhere. Turn the water off at the supply lines again before re-assembling. 8.
Do you need an adjusting ring for a faucet?
Depending on the age of your faucet, you may not have an adjusting ring. For those with newer faucets that don’t contain adjusting rings, please skip this step. If you have an older faucet with an adjusting ring, it will not be needed after the repair if the cam/packing is replaced.
What to do if your faucet is leaking?
The first thing to do when you realize that you have a leaky faucet is investigate the source of the leak. If the water is dripping from the spout, that's a pretty clear sign that the internal valve isn't shutting off the water completely, and the faucet cartridge needs to be replaced.
How to remove a retaining nut from a faucet?
Some faucets have a decorative collar or cap over the retaining nut. If your faucet has a collar, turn it counterclockwise by hand to remove it. You can use an adjustable wrench or tongue-and-groove pliers to remove the collar if it is tight.
Why is my faucet running down the base?
This can be caused by a loose or faulty aerator or even by a small pinhole in the spout. If all looks good and the problem is not a leaky faucet spout, then the problem could be a loose retaining nut under the dome cap. Remove the faucet handle and the dome cap and check to make sure the nut is tight.
Why is my faucet dripping?
Remove the faucet handle and the dome cap and check to make sure the nut is tight. This type of leak could also be caused by a faulty cartridge, which is also the cause of a dripping faucet.
Why is there water under my faucet?
The solution is the same for either problem: replace the cartridge. If there is water coming from under the single-handle faucet beneath the sink or counter, it could be caused by a variety of problems, including a leaky or faulty supply line or supply line nut . It can also be that the rubber or plastic gasket under the faucet is cracked or faulty, ...
How to replace a cartridge retaining nut?
You may need to use needle-nose pliers to install the clip. Replace the retaining nut by turning it clockwise and gently tighten it with an adjustable wrench. Set the collar back on and turn clockwise, tightening gently with an adjustable wrench or pliers.
Do ceramic disc valves leak?
According to Fine Homebuilding, ceramic disc valves are less likely to leak and will generally last longer than other types of faucet valves. While different faucet brands have different internal valves, most single-handle bathroom faucets can be taken apart and repaired using the same basic steps.
