8 Tricks for Repairing and Restoring Wood Damage
- Naturally Restore Wood. Before grabbing a store bought wood stain, try a natural ingredient. ...
- Naturally Stain & Darken. To stain wood a darker, yet still more natural color, give vinegar a try! ...
- Repair Minor Nicks & Scratches. To repair fairly minor damage, just use this all natural recipe to restore your wood. ...
- Repair Major Damage. If you have a charming wood piece, but a major eyesore is detracting from its overall look, it's time to break out the Bondo all purpose ...
- Return to Underlying Wood. If you have an older piece that's been painted and abused through the years, peel back the layers of time by stripping it down to ...
- Refinishing Wood Like A Pro. Refinishing wood may seem simple; just buy the stain and apply -- but take it from the furniture makeover experts of Hometalk, much can ...
- Repair Holes. Do you love the look of reclaimed wood or pallets, but are old, unattractive nail holes giving you holding you back?
- Fix Watermarks. Is a pesky watermark refusing to cooperate with your refinish or repainting efforts? Give that annoying stain the boot with a spray shallac!
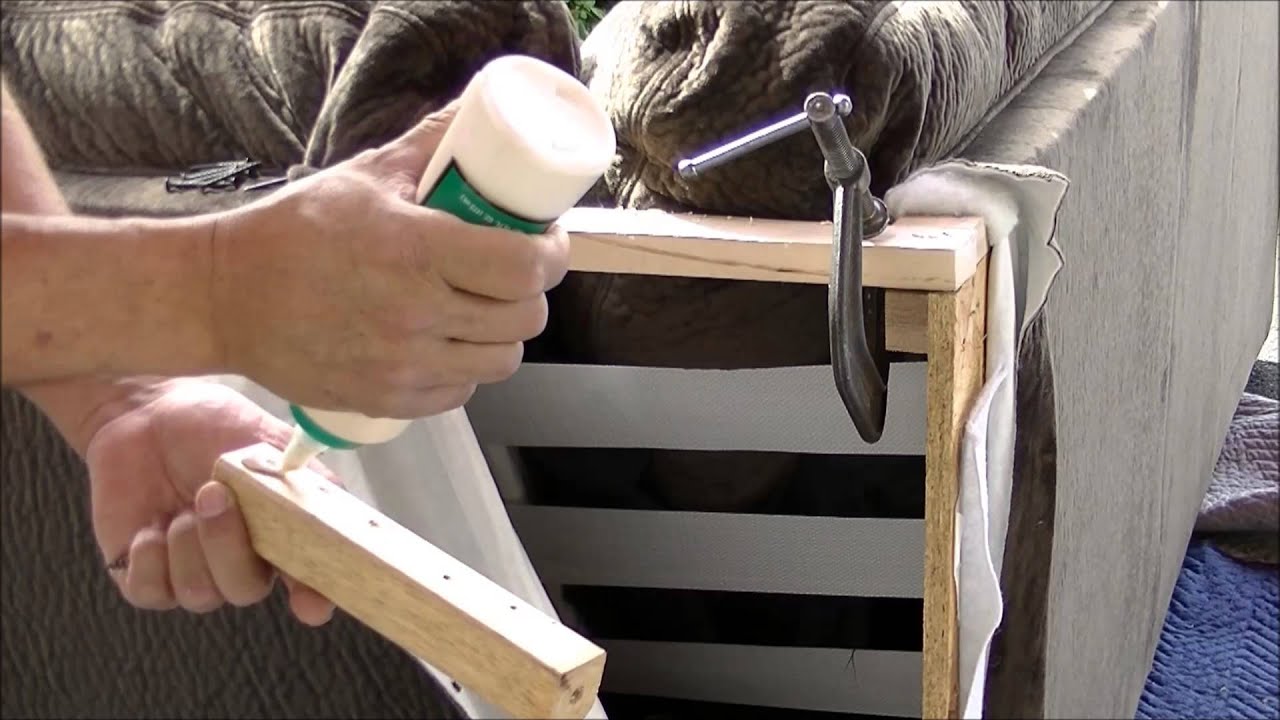
- Step 1 How to Reattach a Broken Piece of Wood. ...
- Check that the fragment fits well into the break in the furniture. ...
- Apply glue to both the fragment and the furniture. ...
- Insert the wood fragment into the glued spot on the furniture. ...
- Wipe away any excess glue using a damp rag. ...
- Clamp the two pieces together.
How to repair rotted wood without replacing it?
Method 2 Method 2 of 5: Patching the Area with Epoxy Download Article
- Paint the wood with a bonding agent. Use a wide paintbrush to apply a thin coat of bonding agent to the wood.
- Mix a 2-part epoxy with a putty knife on a non-porous surface. Dispense enough epoxy to fill the rotted out area.
- Shape the epoxy on the wood with the putty knife. ...
- Scrape off excess epoxy with a clean putty knife. ...
- Let the epoxy set overnight. ...
How to repair rotted or damaged wood on Your House?
Fixing Decayed (Rotted) Wood Using an Epoxy Penetrant and Filler. When you come across rotted wood in your old house projects, instead of replacing the damaged wood, you also can repair it with specialty epoxy penetrants (also called consolidants) and fillers to make repairs.
How to reattach a broken piece of wood?
The process usually involves these steps:
- Expose the wood by removing the siding and water barrier (if there is one)
- Replace the rotted wood with new wood.
- Treat the remaining wood that isn’t damaged, yet looks like it was exposed in some way to the fungus that caused the dry rot.
- Properly dispose of the damaged wood.
How do you fix cracks in wood?
How do you fix cracked wood slices? The most effective ways to deal with cracks in wood are, in order: remove, replace, fill, and patch. Remove: If cracks occur near the ends of boards, cut them out. Mark the end of the visible crack and add a few extra inches to the cut-line, in case it has extended beneath the surface. ...

Sawdust and Glue
Have a sander? Open up the dust collector and pour some out in a container. Mix in a good size portion of glue – somewhere around a 50-50 portion (I use this glue, and it is freaking the bomb). It should turn pretty thick and very sticky. About like so:
Joint Compound, aka mud
Joint compound is really inexpensive, making this a terrific solution and one of my favorite tricks. This is really only best for a light skim coat to finish off spaces that are either not large or are mostly filled already. Case in point, I love it for finishing pocket holes.
Bondo
Get a respirator mask, because this is one powerful solution that comes with an equally powerful smell. Bondo is used to do automotive repairs, so that should give some idea of its durability. It sands every bit as smooth as joint compound, and can be used to fill larger areas than the mud can.
Introduction
Use a polyester filler to rebuild rotted or damaged wood. You can mold and shape it to match the original wood profile. It takes paint well and won't rot.
Smooth out the repair
Also, unlike WoodEpox, polyester tends to sag when you're doing vertical repairs. One trick is to build a form and line it with plastic sheeting. Press the form against the filler and attach it with screws. Then pull it off after the filler hardens.
KNOW YOUR STUFF
When disassembling or assembling furniture, avoid the frustration of a missing screw or other small part by keeping small, loose parts and fasteners in a closable sandwich bag. Then, even if you have to take time out in the middle of the project, you can keep all the parts from getting lost.
FIX OR DITCH?
Ditch if ... there are large cracks throughout a major portion of the surface area of the piece; the veneer is thin and was poorly applied and is chipping or peeling; major sections of the piece are warped and the piece is constructed of pressed wood, fiberboard, or similar composite materials.
How to fix a broken piece of wood?
These materials work to securely bond the wood pieces together. To apply to breaks, simply take put the glue or resin on the furniture piece that is still intact. Press the broken piece back onto the furniture and hold until secure. Apply pressure so there are no noticeable gaps. You can then remove the excess glue or resin once dry. For gaps, fill the gap with resin and allow it to dry. For both of these options, you can go over the glue area with the same stain as the wood for a seamless look and finish.
How to get scratches out of wood?
While this is a large project, it is usually doable. Start by stripping the wood of its stain or paint. Once this is completed, take sandpaper and sand the scratches down. It’s important to sand with the grain so it retains a smooth surface. Once you’ve removed the scratches and dents, you can brush off the dust particles and either restain or paint the wood, and your piece should look as good as new!
Can you dispose of old wood furniture?
But even with its outstanding ability to stand the test of time, wood furniture can become damaged through regular use and wear. If you have a beloved piece of wood furniture that has seen better days, you don’t have to dispose of it just yet. Check out these easy repair techniques for broken wood furniture to salvage your favorite furniture pieces.
How to restore wood stain?
Naturally Restore Wood. Before grabbing a store bought wood stain, try a natural ingredient. Coco nut oil not only rehydrates your wood, but also restores your wood's natural color and soft glow.
How to refinish wood like a pro?
Refinishing wood may seem simple; just buy the stain and apply -- but take it from the furniture makeover experts of Hometalk, much can be done to enhance the staining process. First, make sure you sand the wood- even if you don't see any sort of finish or top coat.
How to stain wood with vinegar?
To stain wood a darker, yet still more natural color, give vinegar a try! You can use either balsamic vinegar or apple cider vinegar, depending on the color you prefer. If you scrub the vinegar in with a wire brush, it will take this great wood DIY to the next level! 3. Repair Minor Nicks & Scratches.
How to sand wood to get a smooth finish?
First, make sure you sand the wood- even if you don't see any sort of finish or top coat. You must sand with the grain (in the same direction as the wood grain). Start with a coarse-grit, and end with a fine-grit for best results. A nice smooth wood surface will readily accept your stain and it will color evenly.
How long to leave liquid stripper on wood?
To apply liquid stripper, spread it around evenly with a chip brush to create a nice thick layer. Leave the stripper for 30 minutes, then scrape away, following the wood grain. Get the exact step by step tutorial from Finding Silver Pennies on Hometalk. Advertisement.
What is bondo wood filler?
Bondo is an alternative to normal wood fillers preferred by many furniture restorers on Hometalk. Mix up your Bondo, apply to the uneven, damaged section, then sand smooth. After, you can repaint the whole piece for an even look. 5.
How to fix a broken sleeve?
Photo 1: Tape one side. Check the fit first, then stick the ends of transparent sealing tape to the underside of the larger piece being repaired. Photo 2: Fit pieces together. Apply glue to the smaller piece and fit it into place. Then wrap the free ends of the tape tightly around the piece.
How long does it take for wood glue to set?
It’s important to complete a glue-up fairly quickly; even though it takes about an hour for most wood glues to set and 24 hours to cure, the initial “grab” takes place in two or three minutes, and clamping should be completed by then. Get a good fit between the two glued surfaces.
Why do you need to use clamps on wood?
Pressure is necessary to form a tight, gap-free bond, and to help force glue into the wood fibers. Clamping also prevents movement while the glue is hardening. In situations where you can’t use clamps, use screws, elastic cords or weights. Do a dry run with clamps before you apply any glue.
How to remove old glue from dowels?
Clean all the old glue off the dowel ends by scraping with a utility knife. Don’t remove any of the wood or your re-glued joint will have gaps and be less strong. Photo 2: Ream out sockets. Remove old hardened glue from sockets with a round wire brush. Scrape old glue from the socket bottom with a narrow chisel.
How to reinforce a drawer joint?
When the backside of a joint is out of sight, glue blocks make great reinforcement. Cut 1/4-in. x 1/4-in. strips of wood, then cut the strips into shorter lengths. Use plenty of glue on each contact surface, and press the blocks firmly in place where they won’t interfere with a drawer’s movement. This is one of the few times you won’t need clamps when gluing, since there’s very little stress on the joint.
How to glue a chair backrest?
The trick is to first dry-fit all the parts you intend to glue at one time. If possible, glue the chair in two stages: the seat and legs first, and then when they’re dry, the backrest section. Test-fit the clamps to make sure where every clamp will go. Then you can work swiftly when applying the glue.
Can you glue wood to fill gaps?
Wood glues (except for epoxy) won’t bridge gaps, so any joint with gaps will be weak. The parts should fit together snugly. If you can’t reshape the part with a router or table saw, try gluing thin wood curls in place to fill the gaps. (You can cut curls from a scrap board using a wood plane.)
Fixing Split Wood with Glue
Fixing split wood with wood glue works well when dealing with a clean break. Follow these steps if you find no missing spaces when you place the broken parts back together or if the split is tiny.
Repairing Split Wood with Filler Material
Repairing split wood with filler becomes crucial when dealing with deep splits. There are several ways to fix wood with filler material. Here are six of the most popular options for you;
Using Dowels to Fix Split Wood
In addition to using glue and filler materials to fix the split in the wood, you could also reinforce the split wood with dowels. Dowels are perfect for fixing splits in rectangular, round, or square objects. Follow these steps to fix wood split with a dowel.
Using Shims to Fix Split Wood
Last but in no way the least effective way of fixing split wood is the use of shims. Shims are thin pieces of wood used to fill small spaces in the wood. Let’s proceed to show you how to use these shims to fix the split in the wood.
How to Pick the Right Method to Repair Split Wood?
As you can see from the sections above, there are different ways of repairing split wood. The method you choose will depend on the split’s size and the type of wood furniture you intend to repair.
How to Repair a Big Split in Wood?
When dealing with big split wood, you need to first check the direction of the grain of the wood and the part where the split occurs.
How to Fix Split Wood from Screw?
Wood splits caused by screws are popular occurrences. They mostly occur when people drill screws into the wood without predrilling pilot holes. If this has happened to you, all is not lost. Here are some steps you should follow to get back on track