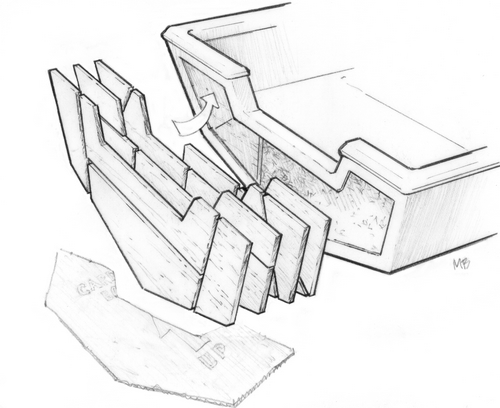
Delamination Repair Process
- Identify the delaminated areas. Identify the dealamitate areas and assess the extent of the damage. You may have to treat separate areas in multiple applications.
- Mark the areas with painter’s tape. Mark the areas with painter’s tape so you know where to inject. ...
- Gain access the area behind the delaminated panel (s) Remove edging, trim, compartment doors and windows necessary to get behind delaminated surfaces. ...
- Mix epoxy
- Load the injector. Load the injector with epoxy by placing the end of the tube in the mixing container and pulling epoxy into the syringe.
- Inject epoxy into the delaminated area. Press the syringe to release the epoxy while slowly pulling the injector out.
- Press down on surface immediately. Press down on the treated area immediately after injecting to spread and bond epoxy to sides.
- Apply a temporary clamp. Secure the treated area with a temporary clamp until the final clamp can be placed.
- Repeat for entire section. Repeat the previous steps until the entire section is treated.
- Clamp the section securely. Clamp the entire treated area and let it stand until cured (15 to 24 hours).
- Repeat for all areas. Apply the same process for other areas of sidewall delamination around the RV (may take several days).
- Reinstall and reseal all trim, windows, doors. Reinstall any panels, trim, windows and doors removed prior to treatment. Reseal them after install.

How to fix delamination?
Tips for a successful outcome
- Work from the bottom up clamping as you go
- Mark the area to be treated with blue painter’s tape
- Cover the area with plastic and painter’s tape to protect the surface from dripping epoxy or spill over
- Inject above the area to be treated so the epoxy drips down into the area you’re treating
What is the best way to fix RV delamination?
What to Do If You Spot Delamination on Your RV
- Find and Seal the Leak. The first step is to find and seal the leak. ...
- Check for Additional Damage and Mold. Delamination may be the first visible sign of a major problem hidden within the walls and under the carpet of your RV.
- Get a Professional Repair Estimate. Know when a problem is beyond your skill or expertise. ...
How to fix delaminating plywood?
- Gather Your Tools. Delamination looks terrible, but fixing it is fairly easy, even if you're not skilled at home improvement.
- Clean Out the Top Layer. Using the tip of your putty knife, slide it beneath the delaminated layer.
- Get Ready to Glue.
- Secure the Repaired Boards.
How do you stop plywood delamination?
- Cut off blistered or peeled laminates from the main board, using the router.
- Cut out patches for holes from identical-thickness plywood using the coping saw.
- Brush clean all cut and sanded surfaces.
- Mask the edges of you repair areas with the masking tape to ensure the epoxy doesn't get on your undamaged surfaces.
How much does it cost to fix delamination?
The cost of fixing RV delamination depends on whether you're fixing it yourself or bringing your RV to a shop. If you're going to DIY this project, you could spend around $200, depending on the supplies you have at home. If you let the professionals handle it, the cost could reach well into the thousands.
Can delamination be stopped?
Most people only notice them after a few years of leakage and when the damage has become so sever that it manifests itself as bubbling wall panels, bowing interior panels or even soft spots in the flooring. Prevention of delamination is simple: Seal every seam at least once every 5 years.
Is delamination a problem?
Delamination may be the first visible sign of a major problem hidden within the walls and under the carpet of your RV. It's likely something's been going on for a while now. Inspect the area for any additional damage or mold. You may have to replace the carpet, furniture, or even subfloors.
How do you repair delamination on an RV wall?
2:183:57RV Camper Motorhome Wall Delamination, Easy DIY wall fix for ...YouTubeStart of suggested clipEnd of suggested clipAnd had enough resin in the wall we installed our complex clamping system which provided evenMoreAnd had enough resin in the wall we installed our complex clamping system which provided even pressure across the wall. After 24 hours we removed the clamp.
Is delamination covered by insurance?
Will insurance cover it? Most insurance companies do not cover delamination as it's often a result of owner negligence. You will be responsible to making repairs and won't be able to make a claim if your RV is a total loss.
Should you buy an RV with delamination?
You should not buy a camper with delamination for two main reasons: This is a sign that the camper wasn't kept and maintained very well, thus it could have other issues the current owner may not want to share; Repairing RV delamination will cost you a great deal of money, as insurance doesn't usually cover it.
What causes delamination?
Delamination is a critical failure mechanism in laminated fibre-reinforced polymer matrix composites, and is one of the key factors differentiating their behaviour from that of metallic structures. It is caused by high interlaminar stresses in conjunction with the typically very low through-thickness strength.
How do you test for delamination?
A climbing drum test is a typical peel testing method used to determine the delamination characteristics of adhesives used to bond different materials together.
How do you spot delamination?
0:143:06How To Check RVs For Delamination & Water Damage - YouTubeYouTubeStart of suggested clipEnd of suggested clipIf you see any warping or bubbling. Go up and look at it and if it pushes. In that's probably moreMoreIf you see any warping or bubbling. Go up and look at it and if it pushes. In that's probably more than likely a delamination caused by water damage this coach is in excellent condition.
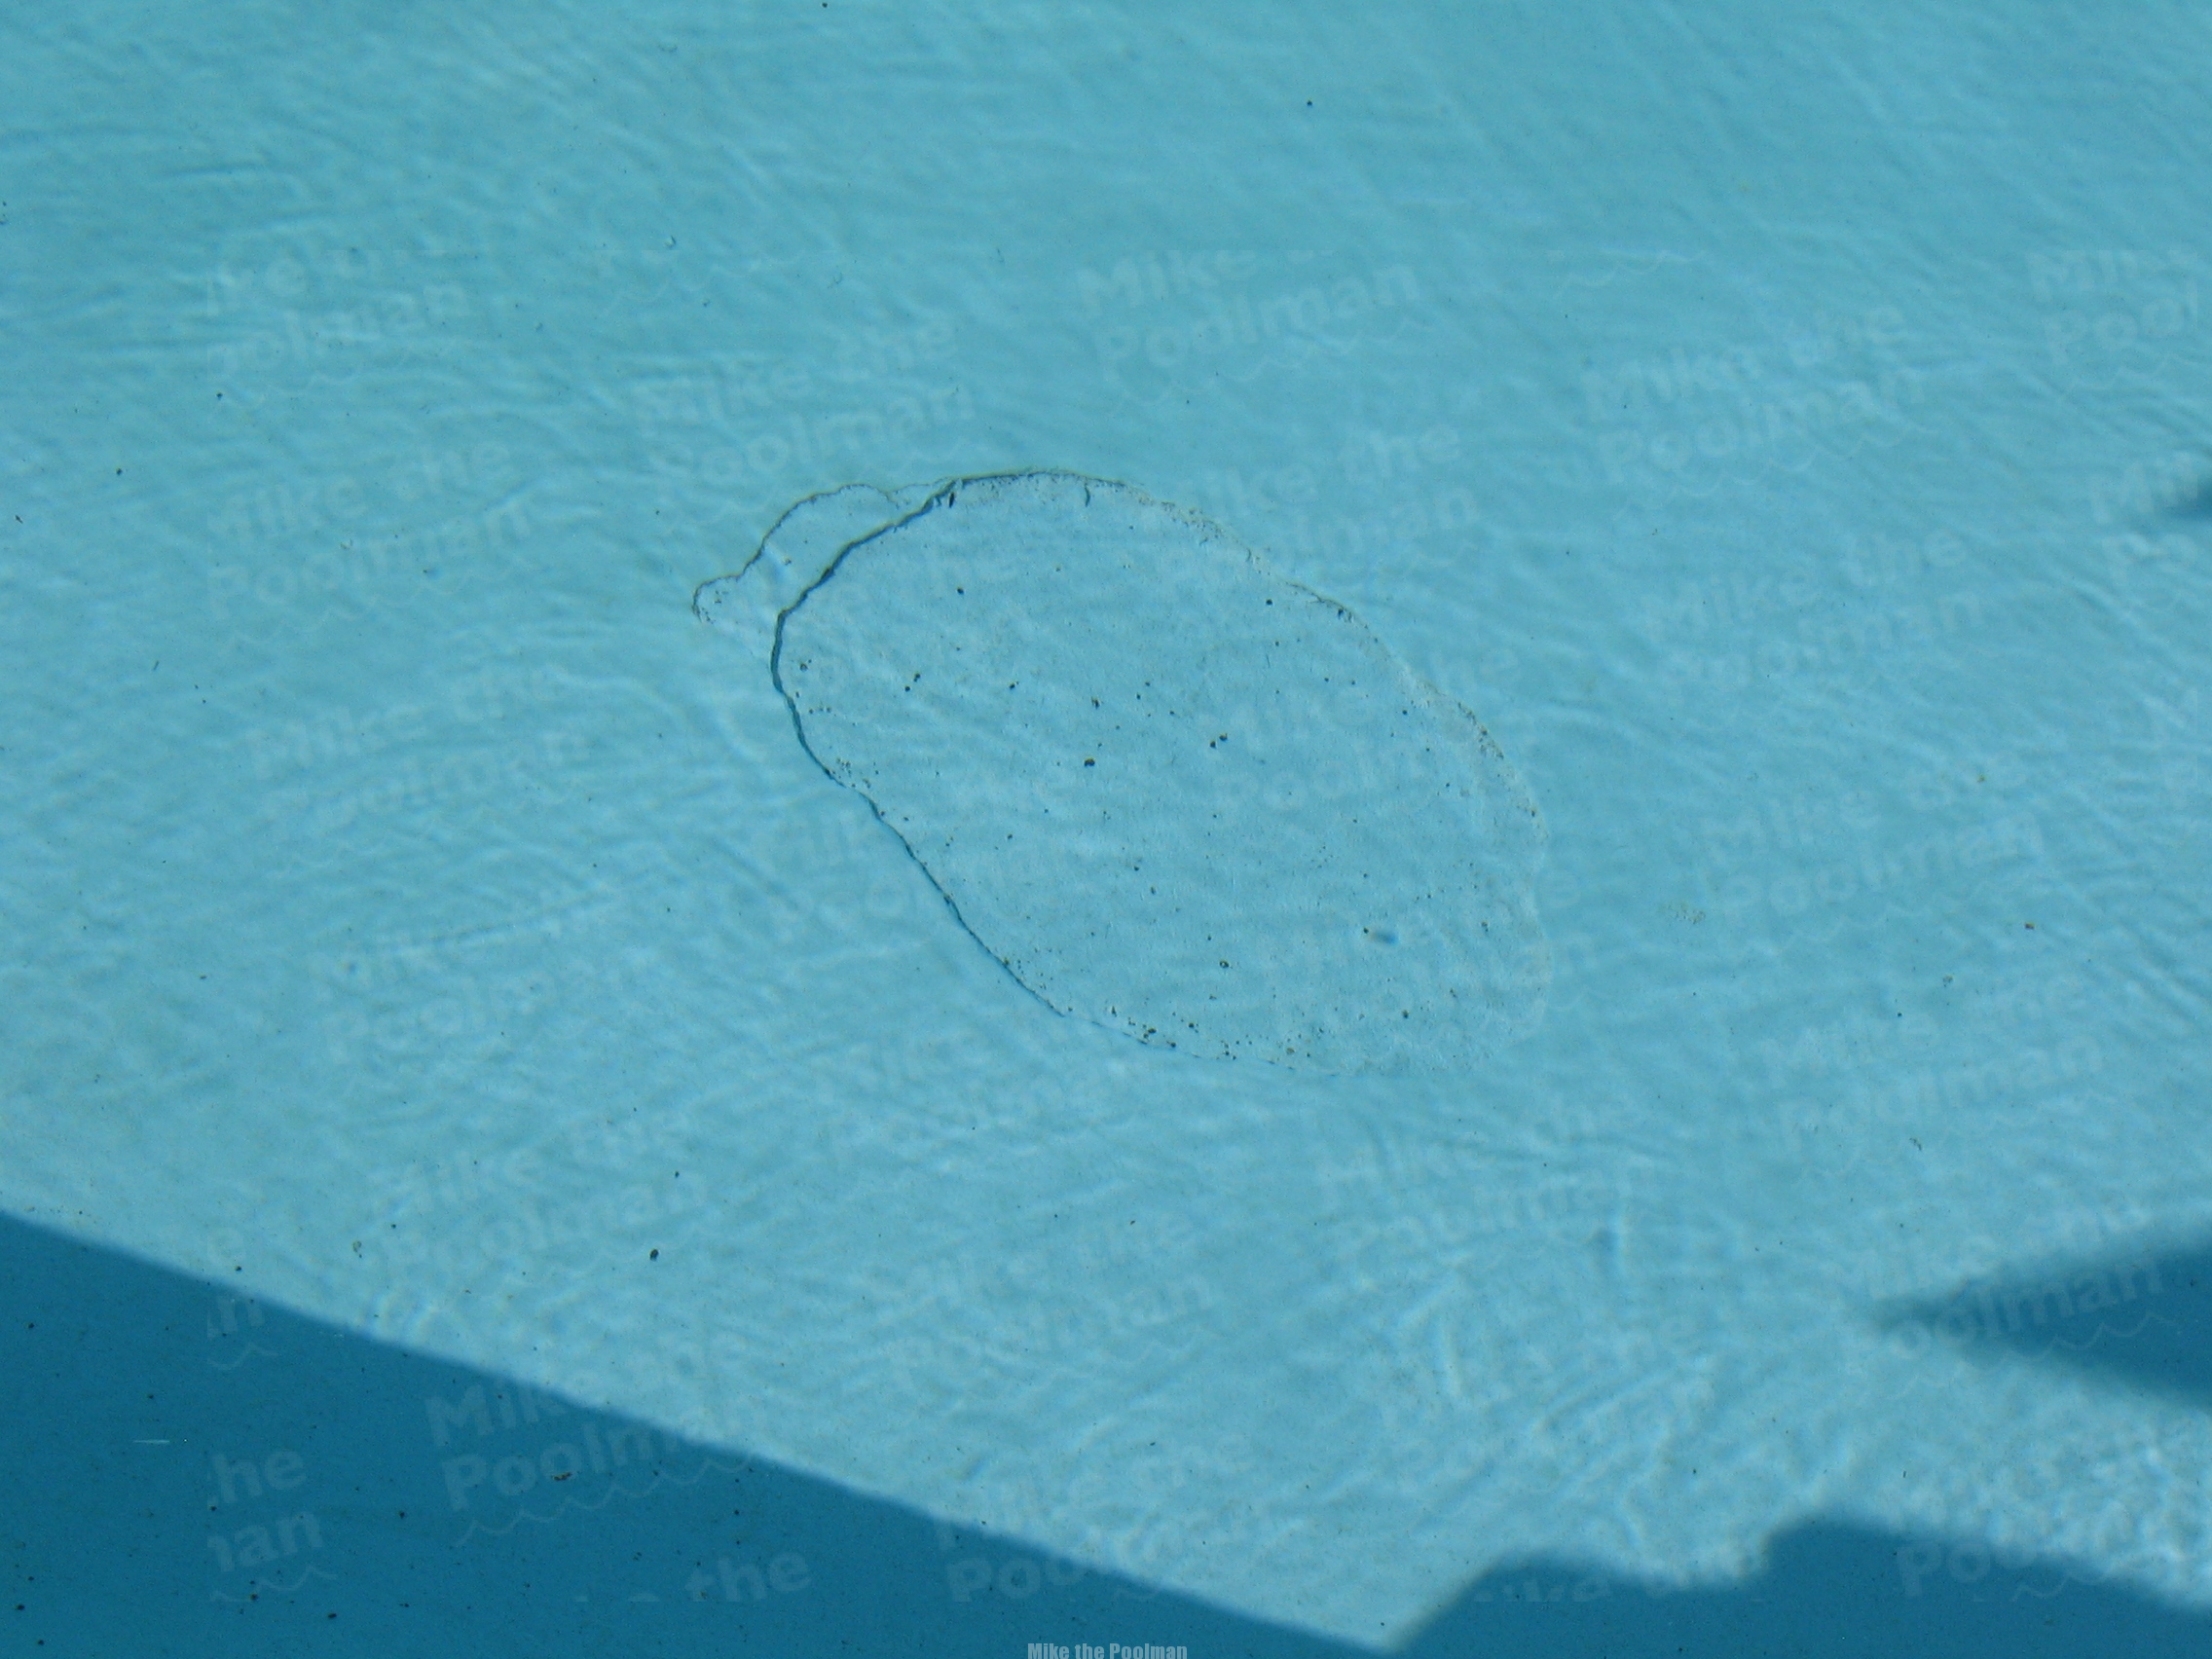
What does RV delamination look like?
0:246:29What you need to know about RV Delamination - YouTubeYouTubeStart of suggested clipEnd of suggested clipThe reason why it's bubbling like that is because it has lost its bond to the other materials theMoreThe reason why it's bubbling like that is because it has lost its bond to the other materials the styrofoam. Inside the aluminum studs in there.
How do you repair an RV exterior wall?
2:358:31DIY how-to fix for delamination & rotted camper wall - YouTubeYouTubeStart of suggested clipEnd of suggested clipThe most important part of the kit. And critical to the lamination repair process is the compost setMoreThe most important part of the kit. And critical to the lamination repair process is the compost set SLV composite bonding resin the rezident system matched with the syringes.
How do you repair fiberglass RV walls?
0:381:49How To Fix a Bubbled RV Wall. Delaminated Fiberglass ... - YouTubeYouTubeStart of suggested clipEnd of suggested clipOnce an access point is located the injection process can begin using the tubing and syringes. TheMoreOnce an access point is located the injection process can begin using the tubing and syringes. The injection process is followed by clamping the delaminated area and sealing the resin inside the wall.
How can we prevent delamination?
Rules For Avoiding DelaminationsDon't seal the concrete surface early. ... Avoid using dry shakes on air-entrained concrete.Promote even setting throughout the slab by using accelerated or heated concrete.If possible, never place concrete on top of a vapor retarder.More items...•
What is the meaning of delamination?
separation into constituent layersMedical Definition of delamination 1 : separation into constituent layers. 2 : gastrulation in which the endoderm is split off as a layer from the inner surface of the blastoderm and the archenteron is represented by the space between this endoderm and the yolk mass.
How to mark areas of delamination?
Mark the Area – Once you have found the areas that are in need of repair, mark these areas with painter’s tape. You will want to mark the outer edge of where the delamination stops. This will allow you to easily find where you are going to be working and let you see the extent of the project at hand.
What is Camper Delamination?
Due to cost-effective building measures, many of the exterior shells of travel trailers are built in layers. Some travel trailers even have as many as 7 to 10 layers depending on the model. Each of these layers are sealed together with a strong and hefty glue. Typically, the exterior layers are constructed out of fiberglass. However, if too small of an amount of glue is used to keep all of these layers together or you have an external factor such as water damage, the pieces will then begin to pull apart which will cause some pretty major issues.
How to check for delamination on a camper?
Conducting regular check-ups for how the exterior of a travel trailer looks will be the best defense in locating and then fixing camper delamination before it causes more widespread and expensive issues. When examining the exterior of a camper, a travel trailer owner will want to look for sections of the exterior walls that do not look flat and smooth. There should not be any waves or bubbles underneath the outer coating. If there are places where the owner is uncertain, running a hand across the surface will also be a good determinate on whether or not it feels as if the surface is lifted rather than flush with the wall.
Does camper insurance cover delamination?
Because travel trailer delamination can be easily avoided by the owner conducting regular maintenance on the sealants, most camper insurance policies will not cover a travel trailer dela mination. This will then cause the entire cost to be placed on the shoulders of the owner.
Do you need to check for travel delamination?
Because of this, it is essential for a travel trailer owner to regularly check on the outside of the rig for any of the common signs for travel delamination. A trailer owner will want to conduct scheduled maintenance on the seams and sealants of the travel as well to ensure that everything is intact to eliminate the possibility of this occurring and leading to greater and more expensive issues later on.
Do you repeat the process on a travel trailer?
Repeat the Process as Needed – You will repeat this process for any area of the travel trailer’s exterior that is showing signs of delamination.
Can a travel trailer be delaminated?
Camper delamination is not something that any travel trailer owner wants to hear that their rig has. It is an expensive problem to solve, and if it is not caught early enough, it could lead to some pretty major structural issues within the walls of the trailer. If the issues are left unattended and not fixed, there is a possibility that the trailer will not be able to be fixed. This is why spotting and caring for this problem when owning a travel trailer is one of the most important maintenance items to conduct on a regular basis.
How to fix delamination on veneer?
How to Repair Delamination. Take a hot iron set to the cotton setting at about 400 degrees. Press the veneer band back into place. Move the iron back and forth over the banding, using medium pressure for about 6 to 8 seconds to avoid burning the veneer and topcoat. This remelts the adhesive.
Why does veneer delamination occur?
Veneer delamination is a separation of the surface layer from the core material caused by a failure of the bonding adhesive between the two layers. This failure can be due to the material being subject to temperature extremes, sudden and wide environmental changes, or the result of a manufacturing defect. Veneer along the edge of particle board or plywood where it adheres to the cross section of the core is where the veneer bonding is most likely to fail.
How to get adhesive off of a corner?
Sometimes a little adhesive may seep out of the sides or ends. Simply remove it with a couple of quick passes of sandpaper to reestablish the clean sharp edge or corner.
What to do if glue seeps out of a sanding block?
If any glue seeped out the end, just give it a quick pass with your sanding block to clean up the edge.
How to put edge banding on tile?
The process is the same with edge banding on a tile. Use your heated iron and press the veneer band back into place. Move the iron back and forth over the banding for a few seconds to melt the adhesive, and tack the band down to the core. Then take your smooth wood block or roller to press the edge banding down firmly, adhering it to the core.
What is Delamination in Camper?
When your camper experiences delamination, its gelcoat or fiberglass outer layer will start pulling away from the plywood or luan (also known as the substrate).
How to tell if fiberglass is delaminated?
Tap it lightly with an object made of plastic (such as a pen) to double check your observations. If the fiberglass produces a hollow sound, it’s still a sign of delamination.
Why is my RV delaminating?
One of the main major causes of delamination on a RV is negligence. As a camper owner, it’s your duty to maintain the bonding agents and prevent them from accumulating moisture. The moisture buildup inside your RV’s walls makes the adhesive less effective.
What causes a travel trailer to delaminate?
Delamination may result in further damage of your travel trailer walls when bubbles that form in the air pocket trap crack and trap moisture in between the walls. It can occur when water seeps into the walls through a vent seam, window or roof if your camper’s sealant is insufficient or deteriorated.
What happens when you peel away the outer layer of wood?
Growth of mold on the inner wood layer. In severe instances, you’ll notice the growth of mold on the inner wood layer once you peel away the outer layer. Mold spores tend to accumulate on damp wood once water penetrates through your camper’s sidewalls.
Can a camper heater cause delamination?
Therefore, always look out for such cracks and repair from time to time. Excessive heat in your camper can also result in delamination of the walls. In this case, heat sources such as the heater may weaken the bonding agent in between the walls.
What to do if you suspect delamination under a fitting?
If you suspect delamination under a fitting such as a stanchion, try putting some load on it and watch to see if the deck moves. If it does, there is likely delamination.
How to tell if a delaminated area is bad?
But you can check for and identify delaminated areas with a plastic hammer. Tap on suspect areas, listening for a change in tone. Areas in good shape will have a “solid” tone. Delaminated areas will sound dull. If you come across a dull-sounding area tap around it, working out until you get to a solid sound. Mark off the suspect area with chalk or tape.
How to check for delamination on a boat?
Check for delamination using a plastic hammer to tap on a suspect area of a cored-laminate hull or deck. Unaffected areas will sound solid but delamination will have a dull tone.
What happens when FRP core material rots?
This is an important measure to take as soon as you notice an area of soft core. When core material rots it loses its bond to the FRP skins, also known as delamination.
How does moisture damage a core?
The primary damage is from rot. You can mitigate the damage by carefully sealing every fitting in the area of wet core, which prevents additional moisture from entering, but also seals the core from oxygen, slowing the decomposition process.
How much does it cost to delaminate an RV?
The approximate cost for this type of kit can initially reach $80-100, but with larger sections in need of repairing, then the costs could be $200-400 or greater.
How long does it take for a wall clamp to cure?
A typical bonding agent requires up to a day to cure 100%, so clamps give the wall the best chance to seal up completely.
Should I Buy a Camper with Delamination?
Following on from the previous points, is it sensible to buy a camper with delamination?
How to apply epoxy to a wall?
Depress the plastic syringe to spread the epoxy/hardener mixture behind the wall and inside the delaminated layer that’s being treated. Withdrawn the injector and syringe while going along the interior wall section until all the appropriate areas have been given epoxy.
How to seal gaps in epoxy?
Doing so will help the epoxy to seal the gap before the epoxy hardens too quickly.
Why do you need to move clamps across a wall?
The wooden clamps should be moved across to cover the depressed wall section enforcing the bonding. When using clamps this way, it makes it less likely that the bonding will fail, and the layer pop open again.
Why should you avoid mixing a larger batch of sandpaper?
Avoid mixing a larger batch because it will harden and become unusable, thus wasting the material. The repair process involves using it, then creating a new batch, and then using that. So, don’t rush it, otherwise, you’ll run out of supplies before the repairs are completed. Doing so will also increase the cost of the repair when further supplies are required too.
How to fix delamination?
1. Gather Your Tools. Delamination looks terrible, but fixing it is fairly easy, even if you’re not skilled at home improvement. Gather together the tools you need first, so you aren’t caught without an item you need. The project requires a putty knife, wood glue, a can of compressed air, and several clamps.
What Causes Delamination?
Moisture damage is the primary culprit. The layers that compose engineered wood are typically held together with glue. Intense pressure ensures its longevity and improves its ability to hold its shape, but once water penetrates the layers, the pressure releases and the layers begin to separate.
How to fix a peeling floorboard?
Wood glue needs time to dry. It also needs to remain undisturbed. The easiest way to guarantee that your fix sticks is to use clamps to hold the repaired layers together. You need as many clamps as you have separations. Peeling floorboards that curl may require spring-loaded clamps. Flat pieces of plywood fare well with bar clamps. Tighten each one until the glue begins to seep out from the cracks. That’s normal. It means the layers are securely held in place. Wipe away the glue. Let the floorboards rest that way for 24 hours.
What is delamination in flooring?
Delamination is a flooring defect unique to floor boards made of composite material like laminate and engineered. You’ll know delamination when you see it because the flooring top layer begins to separate from the core. The floorboards might bubble or hump in the middle, or the top part might peel back from the edges.
How to get rid of dirt particles in a can?
Using the tip of your putty knife, slide it beneath the delaminated layer. Slide it back and forth as far as it will go, but don’t force it. Spray the compressed air underneath the separated layer. You can blow yourself, but the can is less work. You just need to get rid of dirt particles and debris.
How long does it take for floorboards to rest?
Wipe away the glue. Let the floorboards rest that way for 24 hours. At that point, you can remove the clamps. The flooring is ready for reinstallation, and it’s just as durable as ever. Follow the traditional installation method, taking care to leave space for the wood to swell in the heat and humidity.
How to prevent delamination in hardwood floors?
The best way to prevent delamination in your floors, is to try to pinpoint the cause before you repair it to ensure you don’t have to deal with a repeat of the issue later . As you might expect, that means you have to choose your cleaning products carefully.
What is RV delamination?
We already covered the basics above, but if you want to know how to fix and prevent delamination, it’s important to understand how it happens. Band-aid solutions won’t fix anything in the long term if you don’t get at the root of the problem.
How to repair RV delamination
Severe RV delamination is difficult to fix, especially if water damage has set in. If the plywood has begun to rot, the only way to repair it is to completely strip down the walls and replace them with a fresh structure.
How to prevent delamination
With any luck, you’ll never have to deal with RV delamination in the first place. Most RVs are well-made and can hold up to the wear and tear of a life on the road. Delamination is certainly something to be mindful of, but it’s not a danger that every RV owner faces.
Love RVing? You'll Love RV LIFE Pro
It’s the wanderlust, the freedom of the open road. It’s not the destination, but the journey. It’s exploring the world. You don’t need a house because when you travel, you’re home. That’s RV LIFE.
How to fix bubbles in fiberglass?
The repair of this problem may take a little skill. Once you start getting bubbles in your fiberglass you need to work carefully and sand down the bubble till you get to solid fiberglass. Next, you have to use fiberglass cloth and resin putty (gel coat or epoxy) until you get the spot back to level.
How to remove yellowing gel coat?
To remove the yellowing gel coat, all you have to do is a little buffing. Then you add the new coating and work it in while it is still wet. All of this is done by hand. After you have worked it in, polish the area and then wipe off any excess.
Why is my siding cracking?
This issue can arise if a seal has cracked or broken. Water has found its way inside to your studs and have worked the staples or screws loose. Whether you have fiberglass or aluminum siding, you are going to have to remove the siding and see if the luan plywood or wood studs are ruined. If so, you will have to replace the wood.
How to fix a small hole in RV?
Fixing them is not the difficult. Start with a little sanding to get the rust and corrosion off. Then use a clean, damp cloth and a little liquid soap to clean the edges. Next, apply some metal primer to the exposed edges and let it dry. When it is dry, fill the holes with waterproof caulk. Smooth out the caulk so it looks good and wait for it to dry.
Can you patch aluminum siding on an RV?
RV Siding Patch. Generally, when you need a patch to your your RV siding, it is easier to just replace that damaged section if your siding is aluminum. There is probably less work in replacing the damaged section than there is trying to repair it.
Can you replace aluminum with fiberglass?
For aluminum, you can easy remove just one damaged section and replace it with a new one. Repairs are simple and often can be done with only one extra pair of hands. But fiberglass is different. While you can make small repairs, you usually have to replace the whole side panel of fiberglass to get the problem solved.
Can you bang out dents on RV siding?
The only hindrance to this is that it may not be possible to bang out the dents on RV siding. Aluminum is an extremely difficult metal to bang out dents. It is just to easy to re-dent it in the opposite direction. The only cure for this problem is that you would have to replace the aluminum panel with a new one.
