Chevrolet Silverado 1999-2006: How to Repair the Instrument Cluster
- Remove the gauge cluster trim. The upper-part of the dashboard is held in place via clips. Push the tilt lever for the steering wheel down.
- Remove the instrumental cluster. This part is easy, more so if you have a drill handy. ...
- Prepare the instrumental cluster board. The board is the chip set that powers all the gauges, lights and meters. First you have to gain access to it.
- Solder the points on the instrumental panel. First, you will need to remove the protectant clear finish on the contact points. ...
How do you repair the instrument cluster on a Chevy Silverado?
Use these following instructions to repair a damaged instrumental cluster on a first generation Chevy Silverado 1500. The upper-part of the dashboard is held in place via clips. Push the tilt lever for the steering wheel down. Push the wheel down.
How much does it cost to fix instrument cluster on Chevy Express?
2003 - 2007 Chevrolet Express Instrument Cluster Repair $149.99 This is an instrument cluster repair service for a 2003-2007 Chevrolet Express. If your Chevrolet Express Instrument Cluster is experiencing gauge issues or back lighting failure, then we can help!
What kind of instrument clusters do we repair?
We repair a wide variety of Chevrolet instrument clusters including Silverado, Suburban, Tahoe, Avalanche, Cavalier, Impala, Kodiak, Malibu, Monte Carlo, SSR, Tracker, Trailblazer, and Venture for many different issues. Click your make below to see the failures we service for specific models.
Are there any problems with the GM gauge cluster?
GM Gauge Repair If 1 gauge/needle is bad, they will all fail. These GM Clusters have 3 to 5+ issues with them. Our cluster rebuild covers ALL issues with our guarantee.

Can you repair your own instrument cluster?
Replacing The Instrument Cluster Is Always The Better Option That means if you install a replacement instrument cluster the right way, you'll know that it works. You don't have that same assurance when you try to repair the cluster yourself. When you do it yourself, you don't have a way to test your instrument cluster.
What causes instrument cluster to stop working?
Overloaded Circuit A faulty voltage regulator, which sends power to the instrument panel in most current vehicles, may be responsible for what causes the instrument cluster to stop working.
How do you fix a car instrument cluster?
0:151:51Dorman's instrument cluster repair kit - YouTubeYouTubeStart of suggested clipEnd of suggested clipBegin the installation by unhooking the trim panel from the - unscrew the two screws on each side ofMoreBegin the installation by unhooking the trim panel from the - unscrew the two screws on each side of the instrument. Cluster once unhooked unplug the connector harness in the back of the cluster.
What are the common problems of the instrument cluster?
Some of the more common failures include:Erratic or non-functional gauges & inaccurate readings.LCD not Stuck or fluttering needles on gauges.Burned out indicator lights.Burned out/dark spot backlighting.Loss of LCD display or erratic operation (number 8 showing as 0)
How do I reset my Chevy instrument cluster?
Push and release the Sel/reset button button 3 times repeatedly. The instrument cluster begins its self-test. Each successive press of the Sel/reset button initiates a new cycling of all the gauges. To end, turn the ignition switch to OFF, or vehicle speed exceeds 1.5 mph.
Is there a fuse for the instrument cluster?
The fuse may be labeled gauges, clusters, or something similar. This fuse should have power on both sides with the ignition in the on position. If the fuses are okay, check for power at the instrument cluster. If the instrument cluster has power, then check for ground.
Can you just replace instrument cluster?
A broken or malfunctioning instrument or gauge cluster is not giving you the vital information you need about your vehicle. We're happy to tell you that you can replace your instrument cluster right at home. It's not as hard as it looks, and you'll save a lot of money in labor.
How much does it cost to repair a gauge cluster?
The average cost for instrument cluster replacement is between $845 and $865. Labor costs are estimated between $78 and $98 while parts are priced at $767. This range does not include taxes and fees, and does not factor in your specific vehicle or unique location. Related repairs may also be needed.
Does a new instrument cluster need to be programmed?
US Speedo said that ALL you have to do is program miles / hours and they would do that when they ship the new cluster. Dealerships said that in addition to programing the miles / hours, you have to program the new cluster with Tech 2 so that the new cluster can read BCM, PCM, ECM (bla bla bla).
How do I know if my instrument cluster is bad?
If you notice any of the following symptoms, your instrument cluster may be failing.Dim instrument cluster lights.The check engine light coming on sporadically or permanently. ... Intermittent failure of the gauges.Inaccurate gauge readings. ... Blinking lights.The lights glowing up or lighting up every now and then.More items...•
Can you drive without instrument cluster?
Can I drive my vehicle while the instrument cluster is out for repair? Yes, you can still start and run your vehicle without the instrument cluster.
Where is the instrument cluster fuse located?
0:322:12INSTRUMENT CLUSTER FUSE LOCATION (2008 - 2016) - YouTubeYouTubeStart of suggested clipEnd of suggested clipAnd then leave the cover straight up on the back side of the cover you will also have a small fuseMoreAnd then leave the cover straight up on the back side of the cover you will also have a small fuse diagram. First fuse you want to check is the fuse.
Why is my dash cluster not working?
As stated above, a defective instrument cluster and a blown fuse are common reasons. These are only applicable if you're sure that not a single gauge in your car works. There could also be a problem with the part that feeds your car's instrument cluster. This part is called the voltage regulator.
Where is the instrument cluster fuse located?
0:322:12INSTRUMENT CLUSTER FUSE LOCATION (2008 - 2016) - YouTubeYouTubeStart of suggested clipEnd of suggested clipAnd then leave the cover straight up on the back side of the cover you will also have a small fuseMoreAnd then leave the cover straight up on the back side of the cover you will also have a small fuse diagram. First fuse you want to check is the fuse.
How can you tell if your instrument cluster is bad?
0:373:56How To Diagnose And Repair A Gauge Cluster - YouTubeYouTubeStart of suggested clipEnd of suggested clipSo we switch the meter over to a continuity test attach the other lead to a good known chassisMoreSo we switch the meter over to a continuity test attach the other lead to a good known chassis ground and complete the test. And it's pretty obvious we've got a good connection. All right well now
What module controls the instrument cluster?
On modern cars, there's one wiring harness running from the instrument cluster to the engine control module (ECM) or body control module (BCM). The ECM or BCM has a bunch of wires running to sensors and lights all over the vehicle.
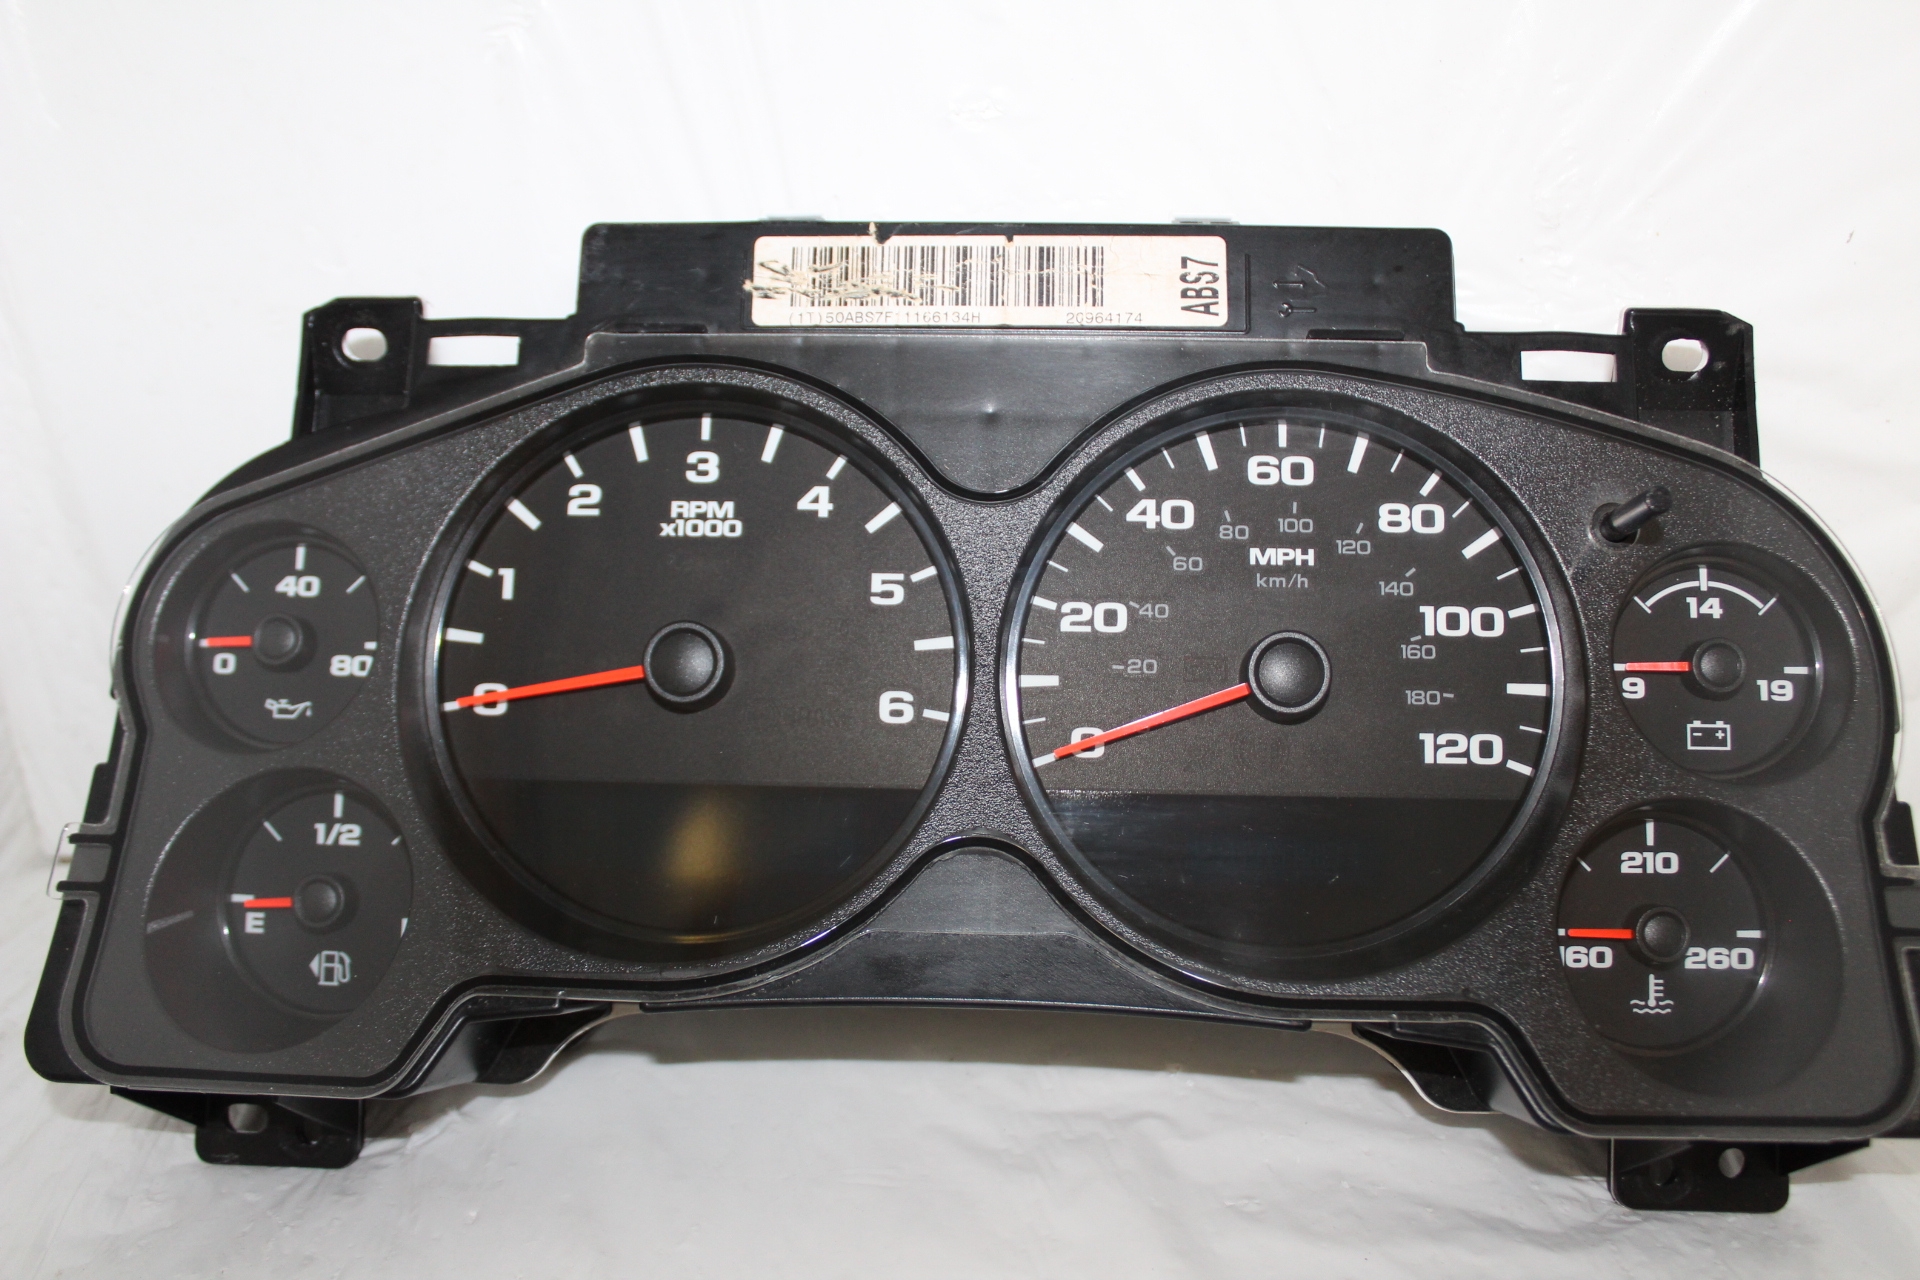
Step 1: How to Remove a Chevy GM Silverado Instrument Cluster
After pulling off the trim bezel by hand (they have no screws on most models, they just pop off by pulling firmly.) you'll find a few 1/4" screws holding in the instrument cluster. Remove them and you will then be able to angle the instrument cluster out. You may need to tilt the steering wheel down and move the shifter down to make room.
Step 2: Removing the Clear Plastic Lens
Next up you'll need to remove the clear plastic lens. You'll need to use a small tool to pry out on the tabs while pulling up on the lens assembly to remove it. Work your way around one tab at a time, you can insert a pencil or similar item between the lens and the body to hold them apart while working your way around.
Step 3: Removing the Needles the Right Way
Ok now you'll need a few pieces of masking tape and a pen or marker. Rotate all the needles counter clockwise gently until the come to a stop, they should all stop at or just below the zero marks. Now make a pen mark on the tape just below the top of each needle.
Step 4: Needle Removal
Now that you've made your calibration marks firmly rotate each needle further counter clockwise a few inches. You'll be rotating the needle around the motor's shaft so there will be some resistance especially at first.
Step 5: Removing the Back Case and Circuit Board
Now pry outwards on the tabs of the back case to remove it, similar to how you removed the front lens.
Step 6: Motor De-soldering and Tools You'll Need
Ok you're now ready to remove the old gm stepper motors and replace them with new ones.
Step 7: Replacing the Old Stepper Motors With Your New Ones
Now you simply need to pop your new GM stepper motors where the old ones were, they will only install in one direction so you don't have to worry about mixing them up or getting it wrong. Make sure you get the correct part number when you buy your stepper motors (see link above for correct parts).