Fixing Backlight Bleeding in LED/LCD
- Tape the Edges. This is one of the most working methods to overcome backlight bleeding. ...
- Using Microfiber Cloth. Gently rub a dry microfiber cloth in a circular motion on the areas affected by backlight clouding. ...
- Adjusting Brightness. You can reduce the brightness of your screen to a point where backlight bleeding is noticeable. ...

How to change LED backlight?
Way 1 –
- Click the Start button, type cp, and then press Enter.
- Control panel will be visible on the screen, locate Windows mobility center. Once you find this application click and open.
- Locate a tile Keyboard backlight on Windows mobility center. ...
- Keyboard backlit pop-up will appear, select On under Keyboard lighting. ...
How to tell if TV LED backlight is defective?
There are three circuit boards namely T-con board, main board and power supply board inside the LED TV. Specialists in the LED TV repair check the LED backlight problem by checking the DC voltage. If the DC voltage comes for a while and shut down after, then this problem indicates one of the LED backlights is bad.
How to repair Sony Bravia led TV backlight easily?
- Unplug Power Supply and then back of TV press Power + Volume Down key, without releasing Keys - Plug the power to reset the TV
- Clean the dust and rusts over the TV or plugs, also inside and outside TV try to SWITCH ON TV again
- If not call CC, for me problem with cable. It is rusted, cleaning and plugging not working. ...
What causes LED backlight failure on TV?
What causes LED backlight failure? Damage to the circuit board can cause light circuit failure. If the electrical traces in the board are accidentally severed, the backlight circuit won’t work. Can a backlight be fixed? It can be fixed if the problem is a power supply issue. Trying to fix the backlight with the correct parts wasn’t worth it.
How do you fix LED backlight?
0:176:02How to Check & Fix TV LED Backlight strips - LED TV backlight repair kitYouTubeStart of suggested clipEnd of suggested clipSo right there i marked the x on the bed led. So make sure you mark it. And then i have tweezers i'mMoreSo right there i marked the x on the bed led. So make sure you mark it. And then i have tweezers i'm going to heat it up on the heat pad. And remove the diffuser lens. And then heat it up again.
Is LED TV backlight repairable?
All you need is a screwdriver, LED flexible strips, wires, and soldering iron. There are two ways you could fix a faulty TV backlight: Replacing the entire LED strip. Changing a single LED.
Can a backlight be fixed?
If it's a backlight or power supply problem, it can be fixed. Usually, the problem stems from the high voltage inverter circuitry, either bad power transistors, capacitors, or thermal stress on the circuit board leading to broken solder joints. But fixing these problems can often be a short term solution.
What causes LED backlight failure?
Backlight circuit failure can also occur from damage to the electrical traces on the circuit board. If the electrical traces buried in the board are inadvertently severed—for example, from trying to fasten the board with too large a screw—the backlight circuit will not conduct power to the backlight LEDs.
Is it worth fixing backlight on TV?
Generally, replacing the backlight on your Samsung TV will cost you between $100-$200. Usually, this is significantly less than what you paid for the TV, so it is definitely worth it, especially if nothing else has gone wrong.
What is the cost of LED backlight?
TCS 20PCS TV Backlight 1W 3V 3535 SMD LED Televisao Cold White 10... SunRobotics WS2812 8 BIT STRIGHT RGB LED DRIVER FOR FLIGHT CONTRO......brandTCSModel Number20PCS TV Backlight 1W 3V 3535 SMD LED Televisao Cold White 100lm 3535 3537 Cool White Backlit LCD Backlight for TV RepairTypeLight2 more rows
How do I know if my LED backlight is bad?
As backlight failure is a very common issue, this is the first thing to test. To do so, the easiest way is to power on your screen, put a flashlight very close to it and check if you can see the image through. The image would be very dark, like turning the brightness of the screen very very low.
Do LED backlights burn out?
This is a common question consumers ask but you are in luck 🙂 LED lights do not burn out. Even better there is no way for this to happen. LED lights cannot burn out because there is no use of heat as in incandescent bulbs, or gases to burn out or wires to burn up.
How do you fix a backlight?
1:042:32LED TV Backlighting Repair Options - No Picture, Blank Screen - YouTubeYouTubeStart of suggested clipEnd of suggested clipThe first is just to simply order all new LED strips for your TV. And replace them this is the leastMoreThe first is just to simply order all new LED strips for your TV. And replace them this is the least time consuming way to replace the LEDs. And fix your TV.
How long do TV backlights last?
From a component standpoint, this TV features a lot of parts, but generally, the LEDs in its backlight are probably going to fail first. The average lifespan of an LED at maximum or close-to-maximum brightness is 40,000 to 60,000 hours, or roughly 4.5 to 6.8 years.
How do you prevent backlight failure?
0:372:48How to Make Your LED Backlights Last Longer - YouTubeYouTubeStart of suggested clipEnd of suggested clipAnd may cause them to have problems one way to help prolong the LEDs life is to turn down theMoreAnd may cause them to have problems one way to help prolong the LEDs life is to turn down the backlighting in your TV. This will help to drive the LEDs at a lower voltage. And reduce the stress.
How do you fix a TV that has a burnt out backlight?
2:547:24EASY LED LCD TV FIX - no picture black screen backlight repair kitYouTubeStart of suggested clipEnd of suggested clipYou can use the old diffuser. Or you can use the new ones. It.MoreYou can use the old diffuser. Or you can use the new ones. It.
How much does it cost to replace a backlight?
TV backlight repair costs $100 to $122, including replacement parts and labor, at a repair shop. In-house repair costs are more due to trip fees. The price of backlight replacement parts averages around $2.50 for each LED and between $20 and $25 for each CCFL strip.
How do you know if your TV has a broken backlight?
Backlight Failure SymptomsTV turns on without any display of the picture.A Dim screen points to defective led backlights.A Flickering screen is a possibility for a dying led strip.Dark sections are caused by some LED bulbs turning defective.Light Spot sections occur when the lens of these LED bulbs falls off.More items...•
What do you do when your TV backlight goes out?
Most common issues are: Defective capacitor on the power supply board. Defective LED in the backlight system....RepairReplace the whole strip with a new one.Replace the LED with a new one.By-pass the LED and cross our fingers that the backlight will still be homogeneous enough.
How do you change the backlight on a LED TV?
1:072:32LED TV Backlighting Repair Options - No Picture, Blank Screen - YouTubeYouTubeStart of suggested clipEnd of suggested clipThe first is just to simply order all new LED strips for your TV. And replace them this is the leastMoreThe first is just to simply order all new LED strips for your TV. And replace them this is the least time consuming way to replace the LEDs. And fix your TV.
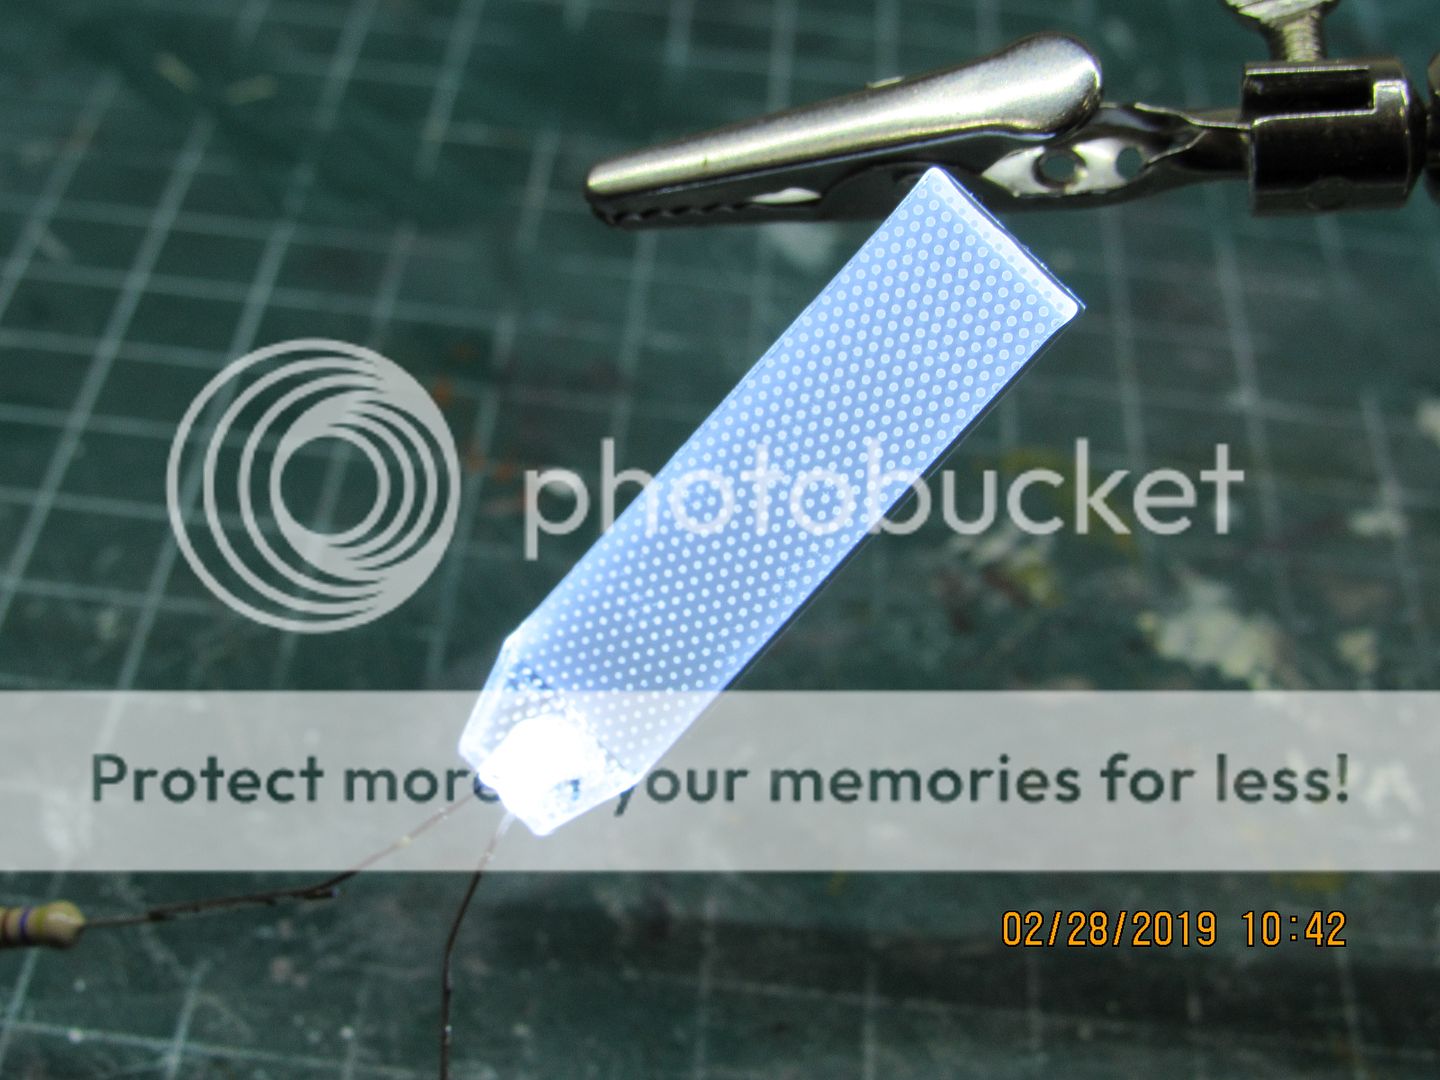
Step 1: Design Your Custom Led-strip
Since the led-strip needs specific dimensions, start by measuring the space where the TL bulb was located. Mine was 160 x 4 mm, and the maximum thickness was about 4 mm.
Step 2: Build the Led-strip
Before we can solder anything at all, we need to make the custom pcb. I started by cutting my pcb to size, and printed out the template. I used the toner transfer method to transfer the design and etched the board with ferric chloride. There are plenty of guides available here on instructables on how to do this.
Step 3: Install the Led-strip & Test
For the install, begin by disconnecting the power from the inverter and checking the polarity of its wires. Proceed by connecting these wires to your led-strip.
An acceptable amount of backlight bleed
In most LEDs and LCDs, bleeding is normal, especially when the brightness is set at 100%. Lower your screen brightness and it should have a small glowing flash of backlight bleeding. Generally, if you don’t see it while playing games or watching movies, then it’s fine.
Alternative Option to Overcome Backlight Bleeding
Like we’ve discussed earlier, there isn’t any permanent solution to eliminate backlight bleeding. As far as you are using an LED or LCD, you might come up with this problem anywhere in the near future. The only way to stay away from backlight clouding is to invest in a good-quality OLED screen.
Conclusion
Backlight bleeding isn’t noticeable at all unless it is of extreme level. And this is a visual problem that only sticks with modern-day LCD screens. You can try all the unconventional methods that we have disclosed to fix the backlight bleeding. If that doesn’t solve your problem, go for RMA or buy an OLED.
Step 1: Disassembling the LCD Housing
To get the the LCD screen and the backlight inside, you must first disassemble the LCD housing; this is different depending on whether it is an external monitor, or built into a laptop.
Step 2: Taking Apart the LCD Itself
Now comes the most interesting part ( and the part where you must be the most organized and careful! ), disassembling the LCD itself. In this step make sure that every element of the LCD you remove is kept in perfect order so you can easily reassemble it after replacing the lamp (s).
Step 3: Remove the Backlight
In this step you must be very gentle. The lights contain mercury and are very fragile. This step is not that difficult, just be patient. Do not use any force when removing the CCFL or it will break (I speak from experience). I would suggest that you loosen the wires from the LCD first and then gently remove the CCFL.
Step 4: Insert Your New Backlight
Take your new CCFL and insert the lamp exactly where the old tube was located. Again, be gentle and this step will be easy. After inserting the new CCFL and routing the cables correctly, reassemble the LCD the same way you took it apart.
Step 5: Test Out the Display
After putting your LCD back together, reattach the inverter and any other cables that may have been connected to the display. Next, before putting the housing back together completely, test out your display to make sure everything is in correct working order. NOTE: Be VERY careful with the exposed connections and cables, ESPECIALLY the Inverter.
Step 6: All Done!
Make sure all your connections are tight, and theres no extra screws. Finish reassembling the LCD housing and you're all set! Again, feel free to send me any questions, comments, or suggestions for this Instructable! Thanks for reading! Ryan Merrick
