How to Fix the Cable Lightning Apple
- Necessary Materials
- Let´ S Go
- Cutting the Cable
- Peel off the wire ends and solder the end of them, do the same in the other part of the cable, now cut a piece of about 1 ...

How to fix Lightning cable?
Use Super Glue
- First, get a screwdriver and some super glue. Make sure you have a compact screwdriver with a head small enough to fit in the charging port of an iPhone or ...
- Dab a small amount of super glue to the screwdriver's edge. ...
- Allow 30 to 60 seconds for the glue to set before moving on. ...
What is the most durable Lightning cable?
What Are the Best Durable Charging Cables?
- Satechi USB-C to Lightning Cable. The fastest way to charge an iPhone is using a Lightning to USB-C cable, and your best option for this type of cord comes ...
- Anker Nylon USB-C Cable. Most modern gadgets, from laptops to noise-cancelling Bluetooth headphones require a USB-C to USB-C cable to charge at their maximum speed.
- Monoprice Pallete Series. ...
What to do with frayed Lightning cables?
10 old cables you should keep around (and 6 to toss)
- Sugru. Sugru is simply great to have on hand for a number of reasons -- one of those being old and worn out cables.
- A repurposed spring. A DIY solution that might work for a short while is removing the spring from a retractable pen, stretching it out and wrapping it around the cable ...
- Cable savers. ...
- It may be time for a replacement. ...
Is Apple getting rid of the Lightning cable?
- Apple may have to abandon Lightning connector cable
- Apple accused of crackdown on jailbreaking
- FBI 'persuaded Apple to halt iCloud encryption'
How do you fix a Lightning cable that is not charging?
Press and hold the power and volume down buttons simultaneously and wait until the Apple logo shows up. Let go of both buttons and your iPhone should reset.
Can iPhone charging cables be repaired?
You can fix a broken charger by applying electrical tape to frayed portions of the cord, restarting your devices, and more. Your charger may not be connected properly or it might be too dirty to make the connection. But it may also be because the power source, rather than the charger, isn't functioning.
Why do Apple Lightning cables stop working?
These could be due to strain and corrosion — in other words, normal wear and tear. Sometimes it's because you are using a cheap knock-off cable of low quality. You will encounter an error that the cable is not certified on the iPhone if this is what is causing the charging issue.
How do you fix a broken Apple cable?
2:267:24Repairing Apple's Notorious iPhone Cables for $8! - Save - YouTubeYouTubeStart of suggested clipEnd of suggested clipTo apply the sugru we'll need to clean off our cable to ensure any of the dirt is removed. You mayMoreTo apply the sugru we'll need to clean off our cable to ensure any of the dirt is removed. You may notice the cable will continually fall apart which makes this process a little bit. Difficult.
How do you fix a broken cable?
0:331:43How to Repair Damaged Cables - YouTubeYouTubeStart of suggested clipEnd of suggested clipHeat it with a heat gun or blow-dryer. And it will shrink to fit over the wire causing it toMoreHeat it with a heat gun or blow-dryer. And it will shrink to fit over the wire causing it to immobilize.
Does the Lightning port wear out?
I've never had a port wear out or cease to function reliably, even after over 5 years of use. Here's a tip I recently discovered though. If the port starts to feel a bit loose, simply clean it out with a toothpick. You'd be surprised how much lint can build up in there.
How do you test a Lightning cable?
1:165:31Apple Lightning Cable Tester - Real vs Fake Cables - YouTubeYouTubeStart of suggested clipEnd of suggested clipThe second is power adapter. Information which happens only through the USB type-c port. And theMoreThe second is power adapter. Information which happens only through the USB type-c port. And the third is charging analysis. Let's begin the testing of the cables. I will test a few different cables.
Can a charger cable be repaired?
You can fix a broken charger by applying electrical tape to frayed portions of the cord, restarting your devices, and more. Your charger may not be connected properly or it might be too dirty to make the connection.
Can a charging cable be fixed?
0:001:43How to fix fraying cables / charging cords - 5 diy methods - YouTubeYouTubeStart of suggested clipEnd of suggested clipIt can take a while but it's pretty straightforward. The glue gun. I clean up the cable and attachMoreIt can take a while but it's pretty straightforward. The glue gun. I clean up the cable and attach the glue to the frayed part then I get a piece of baking paper and mode glue around the cable.
Can you repair USB cables?
If one of your cables begins to break, you can repair it using Sugru. Sugru – a mouldable glue formula – turns into rubber so your cable will last much longer and will prevent further breakages. Repairing a USB cable in place of buying a new one, is an inexpensive alternative to prolonging the life cycle of your cable.
How do you reinforce an iPhone charging cable?
1:423:13HOW TO MAKE IPHONE CHARGER CABLES LAST LONGER!!! - YouTubeYouTubeStart of suggested clipEnd of suggested clipAll you need to do is get one of the tubes. Slip. It over your charging cable and make sure half ofMoreAll you need to do is get one of the tubes. Slip. It over your charging cable and make sure half of it is covering that plastic tip by the end of your charger. Then you're going to grab your lighter.
Step 3: Cutting the Cable
Now that you found the broken end, cut the cable 2 cm connector distance;
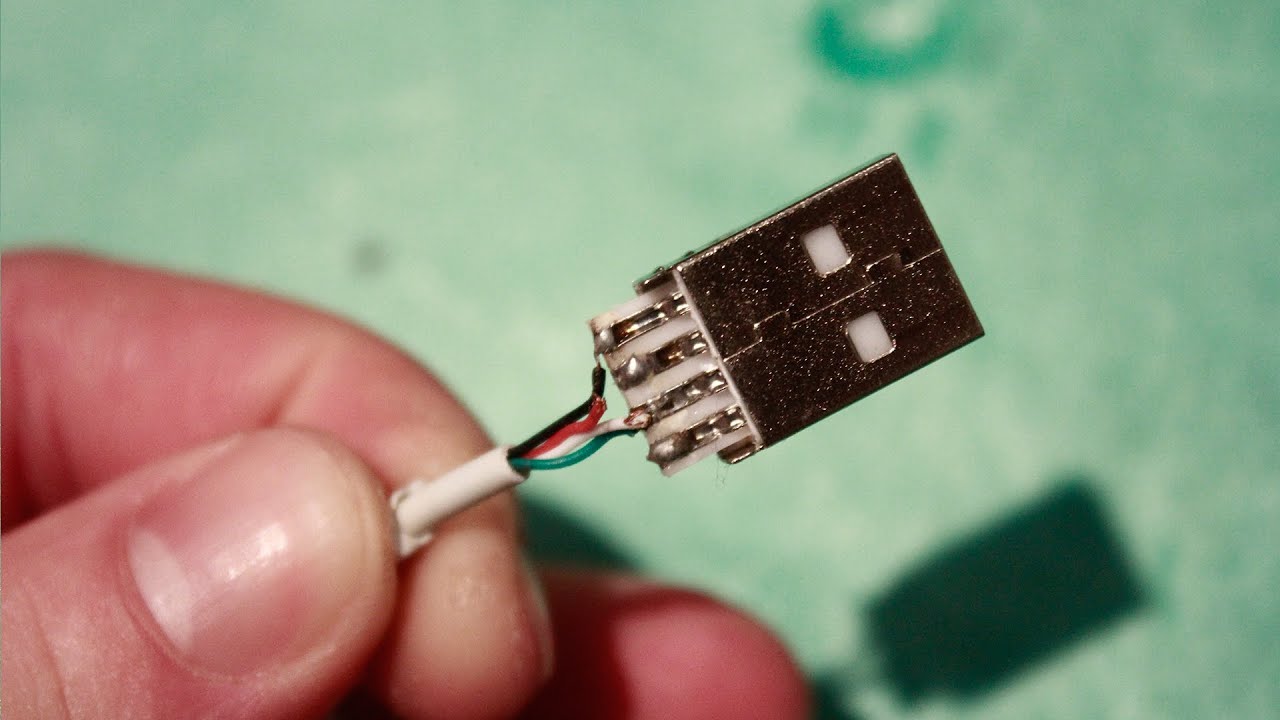
Step 4
Now that step Peel off the wire ends and solder the end of them, do the same in the other part of the cable, now cut a piece of about 1 cm of the shrink tube and place the wires, solder the wires to their respective colors and after that place the pieces of tube in spot welds, take the lighter and dryer and retract them.
How to get a broken connector out of a Lightning port?
If you don’t have super glue handy, there are other methods you can use to pull the broken connector out of your Lightning port. Try using a pair of tweezers or nail clippers to pry the broken piece out of the charging port.
What to do if your charging cable is acting up?
If your cable is acting up, you could borrow one from a neighbor or friend and try that with your device instead. If you notice any frays or discoloration on your charging cable, chances are that something is wrong with it. Usually, there’s no fix for a frayed or burnt cable. The best solution is to get a new one.
How to fix a broken iPhone charging port?
Make sure you have a compact screwdriver with a head small enough to fit in the charging port of an iPhone or iPad. Dab a small amount of super glue to the screwdriver's edge. Now put the screwdriver into the port and firmly press it against the broken connector.
Why does my iPhone have a Lightning port?
Because many of us take our iPhones everywhere, the Lightning port (and other openings on the iPhone) tend to collect dust, pocket lint, gunk and other debris that may accumulate over time. Not surprisingly, this may cause a blockage that will obstruct the connection between the charging cable and the Lightning port, ...
What does it mean when your iPhone won't charge?
On an iPhone, the Lightning port is one of the most common parts to develop a fault. A broken Lightning port means your iPhone won’t charge until it is fixed. That can be very frustrating, especially if you have no alternative means of getting some charge.
Why is my Lightning port not charging?
Minor software glitches could also be the reason why your Lightning port is not making a charging connection. Restarting your iPhone could fix these software issues. To restart an iPhone 8 or earlier, press and hold the Sleep/Wake button, then swipe the power icon across the screen from left to right.
How long does it take for glue to set on a Lightning port?
Make sure that the screwdriver's head does not touch the sidewalls of the Lightning port. Allow 30 to 60 seconds for the glue to set before moving on. Don’t wait for the glue to fully dry. Then, pull the broken piece out without applying too much pressure.
