How To Repair RV Fiberglass Exterior Damage.
- Inspect RV surface. The first step of any RV DIY project is to take a thorough look at the whole surface. There may be a super obvious hole or scratch ...
- Put on safety gear.
- Clean and sand the surrounding surface.
- Replace insulation (If necessary) and fill in holes.
- Apply fiberglass resin.
Full Answer
What happens when you fix the exterior of an RV?
Small flecks or pieces of paint, metal, and fiberglass can easily fall onto or stick to your face when you are fixing the exterior damage to your RV. If fiberglass is inhaled, it can cause serious health issues.
How to repair RV fiberglass exteriors?
This wax provides protection against water damage and scratches. It’s also specifically made for fiberglass exteriors. If you’re dealing with large areas, you can use a mechanical buffer. But for small repairs (like RV fiberglass repairs), you can just apply the wax by hand in small areas. Rub the wax onto the surface with a sponge and let it dry.
Can RV siding be repaired?
Non-motor parts can hurt your RV just as much as an engine failure. How to Repair RV Siding: When de-lamination takes place, it can be a very difficult fix to make. To repair this problem you usually have to remove the whole side of your RV and replace the bad fiberglass with a complete fiberglass section.
How do you fix a leaky RV roof?
Prepare a tape, an 80-grit sandpaper, 60-grit sandpaper, epoxy resin or wood hardener, putty knife and wood putty. Look for water leak sources to prevent more water damage. If the leaks are entering through the windows, apply RV caulking. You can also patch up exterior siding and roof with a waterproof tape.
How do I restore the outside of my RV?
1:407:51Remove Oxidation and Restore Faded RV Fiberglass Meguiars One StepYouTubeStart of suggested clipEnd of suggested clipProduct to remove the oxidation. And then a secondary product to follow up and polish it it's a twoMoreProduct to remove the oxidation. And then a secondary product to follow up and polish it it's a two on one product. And that's the mcguire's. One step.
How do you repair an exterior fiberglass camper?
1:148:14How to repair a hole in a fiberglass RV - YouTubeYouTubeStart of suggested clipEnd of suggested clipWe used an epoxy. I use the West Marines epoxy which is excellent. Product. You can buy little kitsMoreWe used an epoxy. I use the West Marines epoxy which is excellent. Product. You can buy little kits for about 38 bucks is all you really need to do this entire.
How do you repair an RV exterior wall?
2:358:31DIY how-to fix for delamination & rotted camper wall - YouTubeYouTubeStart of suggested clipEnd of suggested clipThe most important part of the kit. And critical to the lamination repair process is the compost setMoreThe most important part of the kit. And critical to the lamination repair process is the compost set SLV composite bonding resin the rezident system matched with the syringes.
How do you repair fiberglass RV siding?
0:092:22How to fix RV Wall Delamination- DIY Fiberglass Siding Fix - YouTubeYouTubeStart of suggested clipEnd of suggested clipThe repair area RV walls are made up of many materials. And when these materials separate gluingMoreThe repair area RV walls are made up of many materials. And when these materials separate gluing them back together is one solution apply a clamping force is required. When doing this process.
How do you repair RV body damage?
0:1115:02DIY: How to Repair RV Auto Body Damage - YouTubeYouTubeStart of suggested clipEnd of suggested clipAnd I wasn't really gonna do anything about it and the friend of mine said oh I can fix that. So youMoreAnd I wasn't really gonna do anything about it and the friend of mine said oh I can fix that. So you put in that stuff it's called fiberglass bondo.
How do you fix cracked RV siding?
2:387:51How to repair a crack or hole in fiberglass. #rv repair #how to diyYouTubeStart of suggested clipEnd of suggested clipI'm gonna lay it over top and then I'm gonna take some resin on the brush. And soak that thoroughlyMoreI'm gonna lay it over top and then I'm gonna take some resin on the brush. And soak that thoroughly and smooth it in. We're going to continue this process until that hole is filled.
How do you fix water damaged RV walls?
10:3212:03How To Fix Water Damage in a Camper - YouTubeYouTubeStart of suggested clipEnd of suggested clipAround put that in here I use a flat normally I would use something with either like a satin or semiMoreAround put that in here I use a flat normally I would use something with either like a satin or semi-gloss finish usually satin that's how I put on the walls.
How do you replace rotted wood in an RV?
How to Replace Rotted Wood Flooring in a Travel Trailer: 6 StepsDiscover the full extent of the damage. ... Remove the areas that are badly damaged. ... Dry out the wood framing. ... Apply a product that kills mold. ... Seal the wood with diluted epoxy resin. ... Add or replace the wood frame and flooring.
How do you repair fiberglass RV walls?
0:381:49How To Fix a Bubbled RV Wall. Delaminated Fiberglass ... - YouTubeYouTubeStart of suggested clipEnd of suggested clipOnce an access point is located the injection process can begin using the tubing and syringes. TheMoreOnce an access point is located the injection process can begin using the tubing and syringes. The injection process is followed by clamping the delaminated area and sealing the resin inside the wall.
How do you fix delaminated RV siding?
2:183:57RV Camper Motorhome Wall Delamination, Easy DIY wall fix for ...YouTubeStart of suggested clipEnd of suggested clipAnd had enough resin in the wall we installed our complex clamping system which provided evenMoreAnd had enough resin in the wall we installed our complex clamping system which provided even pressure across the wall. After 24 hours we removed the clamp.
How much does it cost to fix RV delamination?
There are some DIY kits for $100-$300. These can be an excellent option for minimal repairs. What is this? However, you may need to call in professionals, and even minor repairs can cost well over $1,000 and require exterior wall replacement.
Can delamination be fixed?
To fix RV delamination, once it gets really bad, requires stripping the sides and basically rebuilding the exterior walls. In most cases, this is a cost-prohibitive total loss. That is why it is best to prevent RV delamination by frequently inspecting and sealing every exterior seam.
How do you repair a fiberglass trailer?
3:0110:19Simple fiberglass repair on a small trailer. Tips and techniques.YouTubeStart of suggested clipEnd of suggested clipAnd then what I'll do is I'll pour it on to the foil and then put the fiberglass pieces in and useMoreAnd then what I'll do is I'll pour it on to the foil and then put the fiberglass pieces in and use the spreader again to impregnate alright so I've mixed up my resin. Get out of my little cup.
How do you paint a fiberglass exterior camper?
Painting the Fiberglass Use the paint sprayer to apply an even coat of primer, spraying back and forth horizontally. Allow the primer to dry for the length of time recommended by the manufacturer. Once the primer is dry, paint the RV using the same even strokes you used when applying the primer.
How do you fix the delamination on an RV sidewall?
0:553:03How to Fix RV Delamination - YouTubeYouTubeStart of suggested clipEnd of suggested clipYou really need to make sure that sealed properly and moisture is not getting in so what happens isMoreYou really need to make sure that sealed properly and moisture is not getting in so what happens is the moisture comes inside here starts to the weakened the adhesive.
How do you get scratches out of fiberglass RV?
0:231:54Removing RV Scratches With A Buffer - YouTubeYouTubeStart of suggested clipEnd of suggested clipFrom full-body paint two gel coats two aluminum and fiberglass reinforced resins this product willMoreFrom full-body paint two gel coats two aluminum and fiberglass reinforced resins this product will cover all the finishes on your RV cleaning. And waxing in one easy.
This New Treehouse Camper Fits On Any Type Of Truck
This post may contain affiliate links or mention our own products, please check out our disclosure policy here.
Inspect RV surface
The first step of any RV DIY project is to take a thorough look at the whole surface. There may be a super obvious hole or scratch somewhere, but there could always be smaller ones hiding around the corner. Make sure you check the front, back, sides, and even top!
Put on safety gear
The next thing to do is to keep yourself safe. Working with fiberglass can create a lot of dust, and you don’t want to get this in your eyes or mouth. Wear safety goggles and a mask that is suitable for filtering out particles of dust, sand, etc. An N95 mask is one of the most effective options to use.
Clean and sand the surrounding surface
Wipe down the area you need to fix. It’s easier to see the damage once all the dirt and grime is out of the way. This also prevents any debris from getting deeper into the surface.
Replace insulation (If necessary) and fill in holes
When you want to know how to repair RV fiberglass exterior damage, it’s important to acknowledge that sometimes this damage goes deeper than the surface. If the crack or hole is severe, it might be deep enough to expose the insulation beneath.
Apply fiberglass resin
Now that you’ve done all the necessary work on the base, it’s time to cover it up. When you want to know how to repair RV fiberglass exterior damage, you may be tempted to skip right to the final step of covering it up with fiberglass resin. But this only works once you’ve fixed all the damage under the surface.
Paint and polish the affected area
Fiberglass resin doesn’t usually match the color of an RV, even once it has cured and dried. Although you’ve fixed the major damage by this point, everyone will be able to see a discolored splotch on the surface of your camper. This could lower the resale value, plus it just doesn’t look good.
How to Repair Your RV Fiberglass
To get started on repairing your fiberglass, you’ll need some materials. If you already have a toolset, then you just need the repairing components, if not, we’ve got you covered. Buying the tools is a one-time investment, as they’ll be useful later on.
Step-By-Step Guide to Repairing Your Fiberglass
Frankly speaking, repairing RV fiberglass exterior damage is much easier than you think. You just have to know a few details before you start, and it’s smooth sailing from there. Once you get the hang of fixing the fiberglass once, you’ll be well on your way to becoming a handyman when it comes to repairs.
Conclusion
Repairing tour RV fiberglass is a bit time-consuming, but it’s all worth it in the end. Buying the materials, and following the instructions laid out in the document will get you acquainted with fiberglass repairs in no time, and you’ll be able to fix all kinds of exterior damage to your RV.
What color should RV decor be?
Stock RV decor is almost always drab. The manufacturers of motorhomes and travel trailers alike tend to stick to beige, brown, and gray. They do this to avoid offending anyone as bolder decor choices tend to do. The problem, of course, is that the end result is dull at best, and in many cases downright ugly.
How to repair fiberglass?
The first is to use an epoxy putty to fill the damaged area and smooth it over with a piece of wood or plastic so that it will “level out” before mixing up resin and pouring on top of it to create a new surface .
Can you repair scratches in fiberglass?
The damage to the outside can be repaired with a few different techniques, including filling in cracks and chips or scratches using fiberglass resin or epoxy putty then sanding down when cured.
Can you paint fiberglass resin?
The last step is to prime and paint any areas that will be exposed directly afterwards using whatever colour scheme you have at hand although some paints may not stick very well to fiberglass resin so make sure that’s been taken into account beforehand as well.
Can you put putty on a plastic spatula?
For filling larger areas, I have found that it helps hugely to mix the putty into a smooth paste and apply it from the tip of your finger or off a plastic spatula so that it can be smoothed out as much as possible- this also makes it easier to catch any ridges before they become too noticeable.
How to fix a small hole in RV?
Fixing them is not the difficult. Start with a little sanding to get the rust and corrosion off. Then use a clean, damp cloth and a little liquid soap to clean the edges. Next, apply some metal primer to the exposed edges and let it dry. When it is dry, fill the holes with waterproof caulk. Smooth out the caulk so it looks good and wait for it to dry.
Why is my RV siding bulging?
Bulging aluminum siding could indicate that the staples, adhesive or screws lost their grip on the frame and have allowed the aluminum siding to loosen up. You may not see the bulge when your RV is parked but it will show up as you drive. Just keep your eye out.
Why is my siding cracking?
This issue can arise if a seal has cracked or broken. Water has found its way inside to your studs and have worked the staples or screws loose. Whether you have fiberglass or aluminum siding, you are going to have to remove the siding and see if the luan plywood or wood studs are ruined. If so, you will have to replace the wood.
How thick is RV siding?
The overall answer is that most RV siding sections are not that thick. Aluminum can range between .045 and .056 of an inch thick. Some can go as thin as .030 of an inch thick. It all depend son the type of aluminum siding you want and how it is made.
How to fix bubbles in fiberglass?
The repair of this problem may take a little skill. Once you start getting bubbles in your fiberglass you need to work carefully and sand down the bubble till you get to solid fiberglass. Next, you have to use fiberglass cloth and resin putty (gel coat or epoxy) until you get the spot back to level.
Can you bang out dents on RV siding?
The only hindrance to this is that it may not be possible to bang out the dents on RV siding. Aluminum is an extremely difficult metal to bang out dents. It is just to easy to re-dent it in the opposite direction. The only cure for this problem is that you would have to replace the aluminum panel with a new one.
Can you patch aluminum siding on an RV?
RV Siding Patch. Generally, when you need a patch to your your RV siding, it is easier to just replace that damaged section if your siding is aluminum. There is probably less work in replacing the damaged section than there is trying to repair it.
What to do if RV leaks through windows?
If the leaks are entering through the windows, apply RV caulking.
Why do you need to ask a pro for siding repair?
But for major exterior siding or roof repairs, you might want to ask help from a pro because it is labor-intensive.
How to fix mold on wood?
Paint or spray on epoxy resin or wood hardener. It will not just repair and harden the wood but will prevent mold growth, too. Apply wood putty after 24 hours in order to harden the wood. Use putty to fill the wood indents that resulted from the water damage.
What to do when fiberglass gets stuck in your skin?
Wear eye protection, gloves & a breathing mask. Remember that fiberglass can be stuck in your skin. It is also unhealthy to inhale.
Can you repair a crack in aluminum siding?
In some cases, it may be worth repairing but not in all. For the small cracks or punctures, you can repair it or take it to the auto-body repair shop or RV dealer. With the aluminum siding, you can also find specific gel-coat-type waxes and cleaning products in order to keep the RV looking new.
Can you lift a shower pan?
Lift the shower pan, but avoid damaging the plumbing that carries the used water to the grey holding tank.
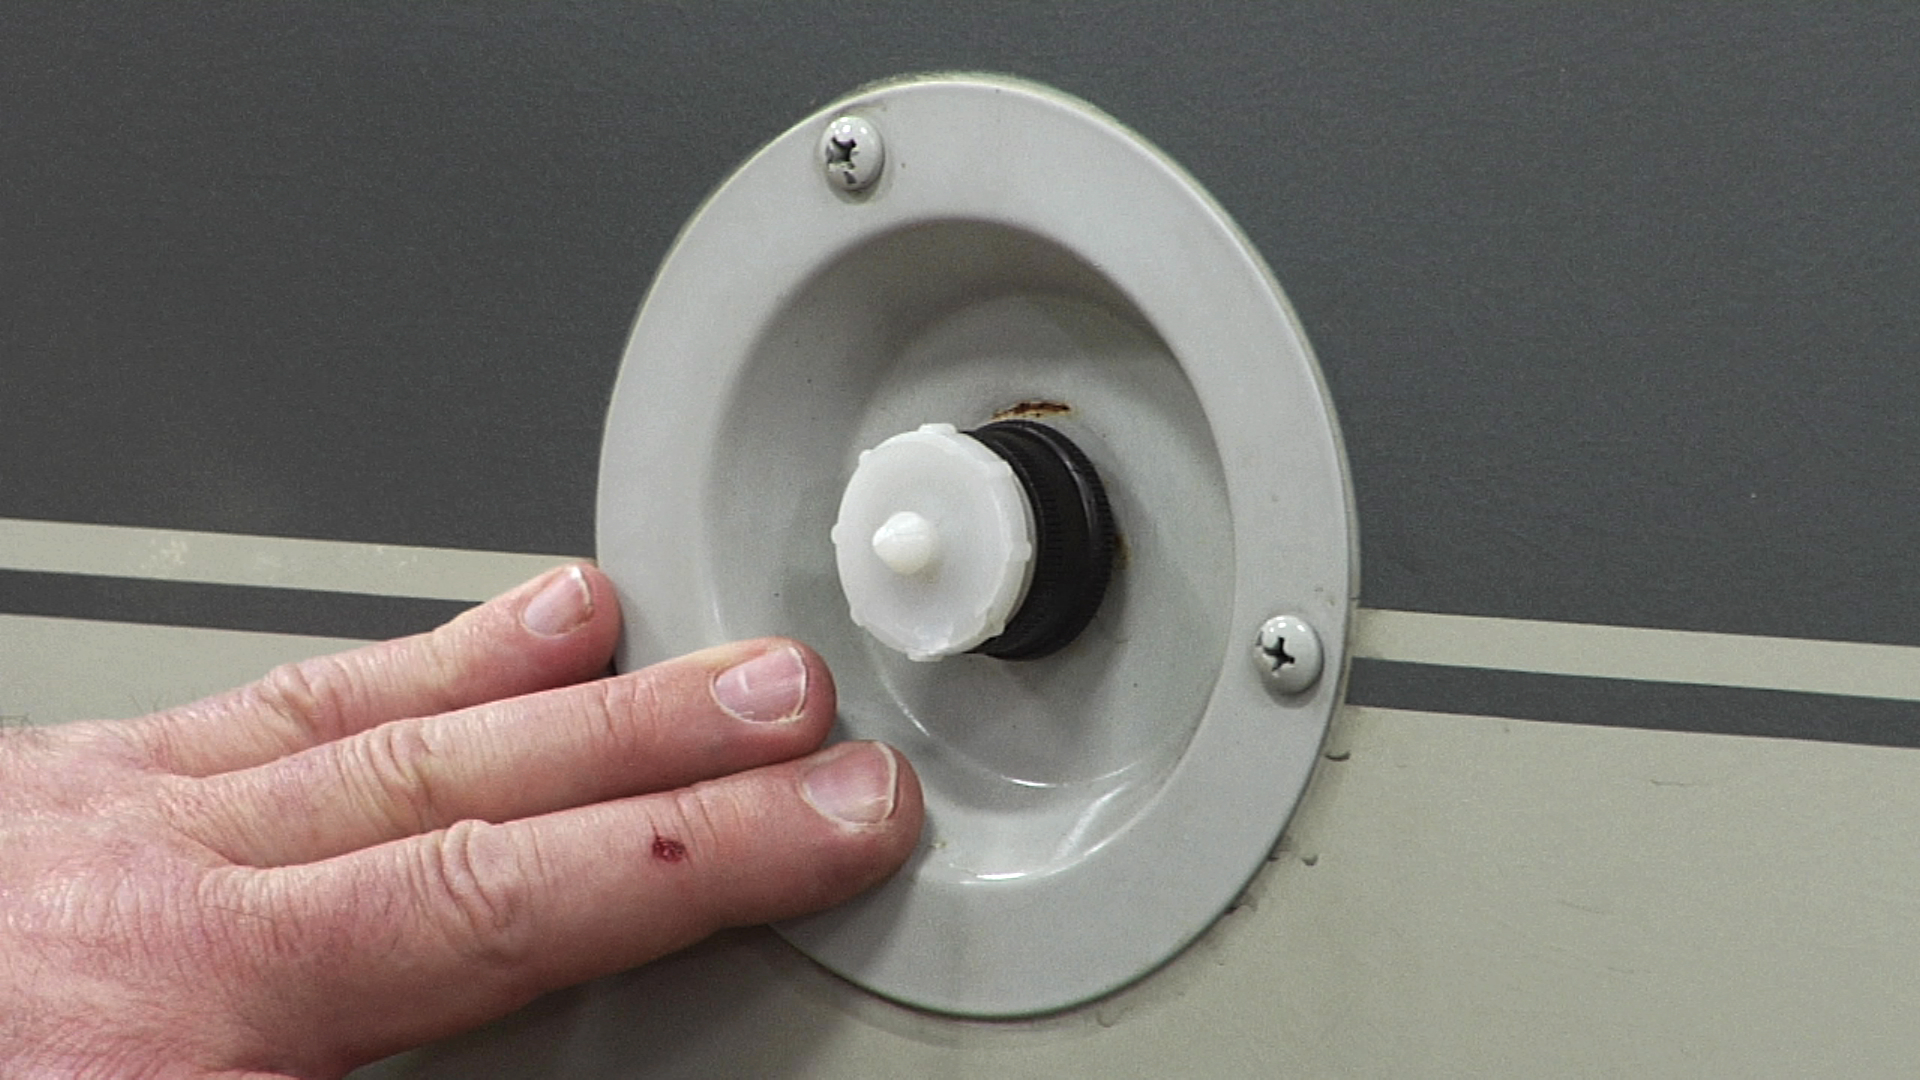
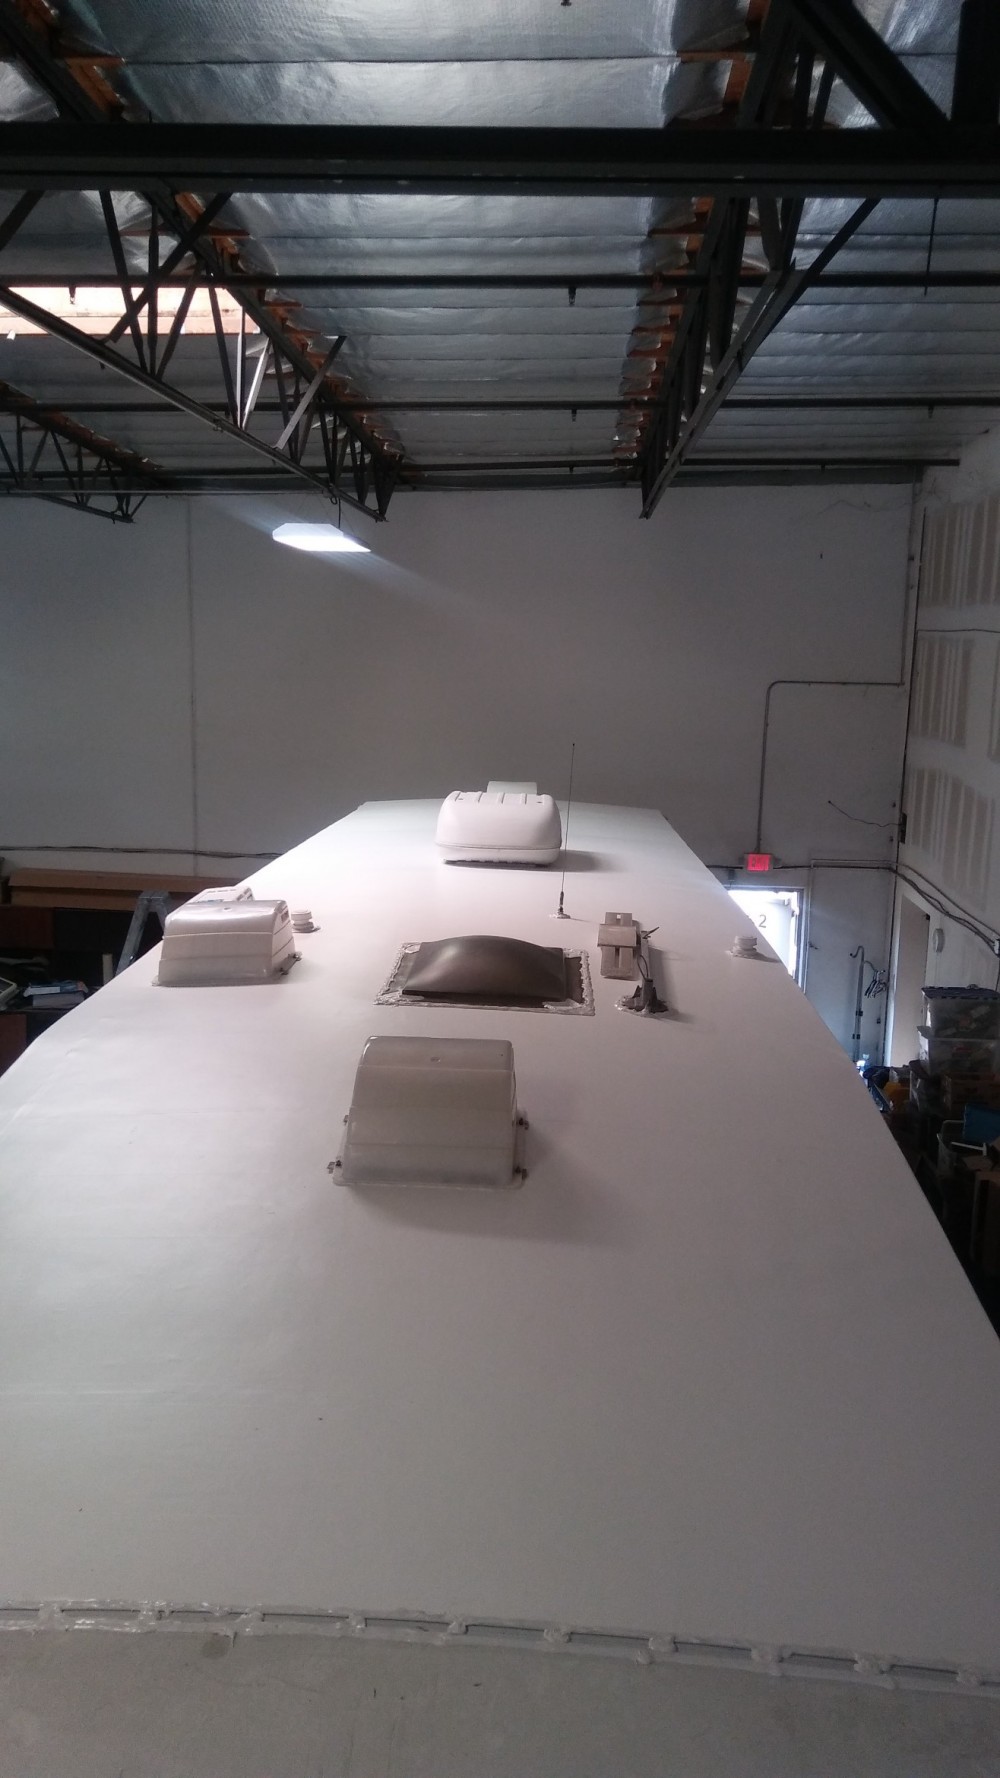
Why is it important to keep RV seals?
Description. For the health of your RV’s exterior components , it’s important to maintain all seals and ensure they’re watertight. Over time seams can crack and dry out, allowing water into your vehicle. Water damage in the form of mold and mildew is often a costly expense you want to avoid!
Do RV doors need to be sealed?
For the health of your RV’s exterior components, it’s important to maintain all seals and ensure they’re watertight. Over time seams can crack and dry out, allowing water into your vehicle. Water damage in the form of mold and mildew is often a costly expense you want to avoid! In this quick video lesson, veteran RVers Mary and Josh Sherer walk you through the process of replacing old silicone sealant and properly sealing RV exterior components such as door handles and A/C vents.
