Fixing a Worn-Out Tub Surround.
- 1. Clean the tiles.
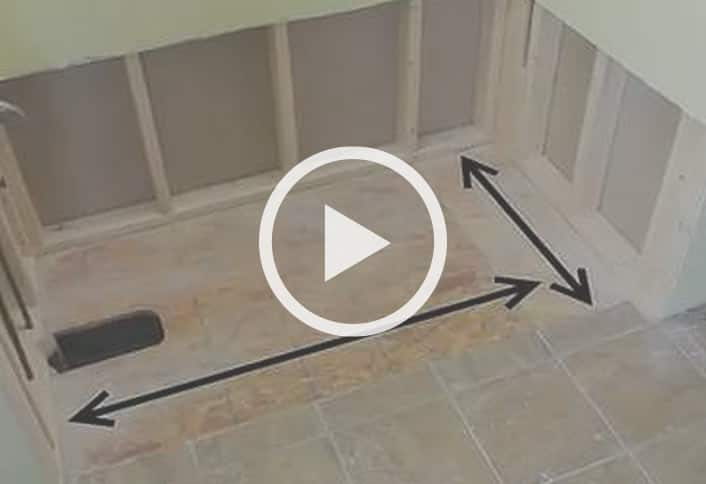
- 2. Make a cardboard template.
- 3. Apply Silicone Adhesive. Begin by applying continuous beads of silicone adhesive to the entire wall in a gridwork of horizontal and vertical ...
- 4. Press Panel to the Wall. Then immediately press the panel to the wall. Slip 1/16-in.-thick shims under the panel to hold it above the top of the ...
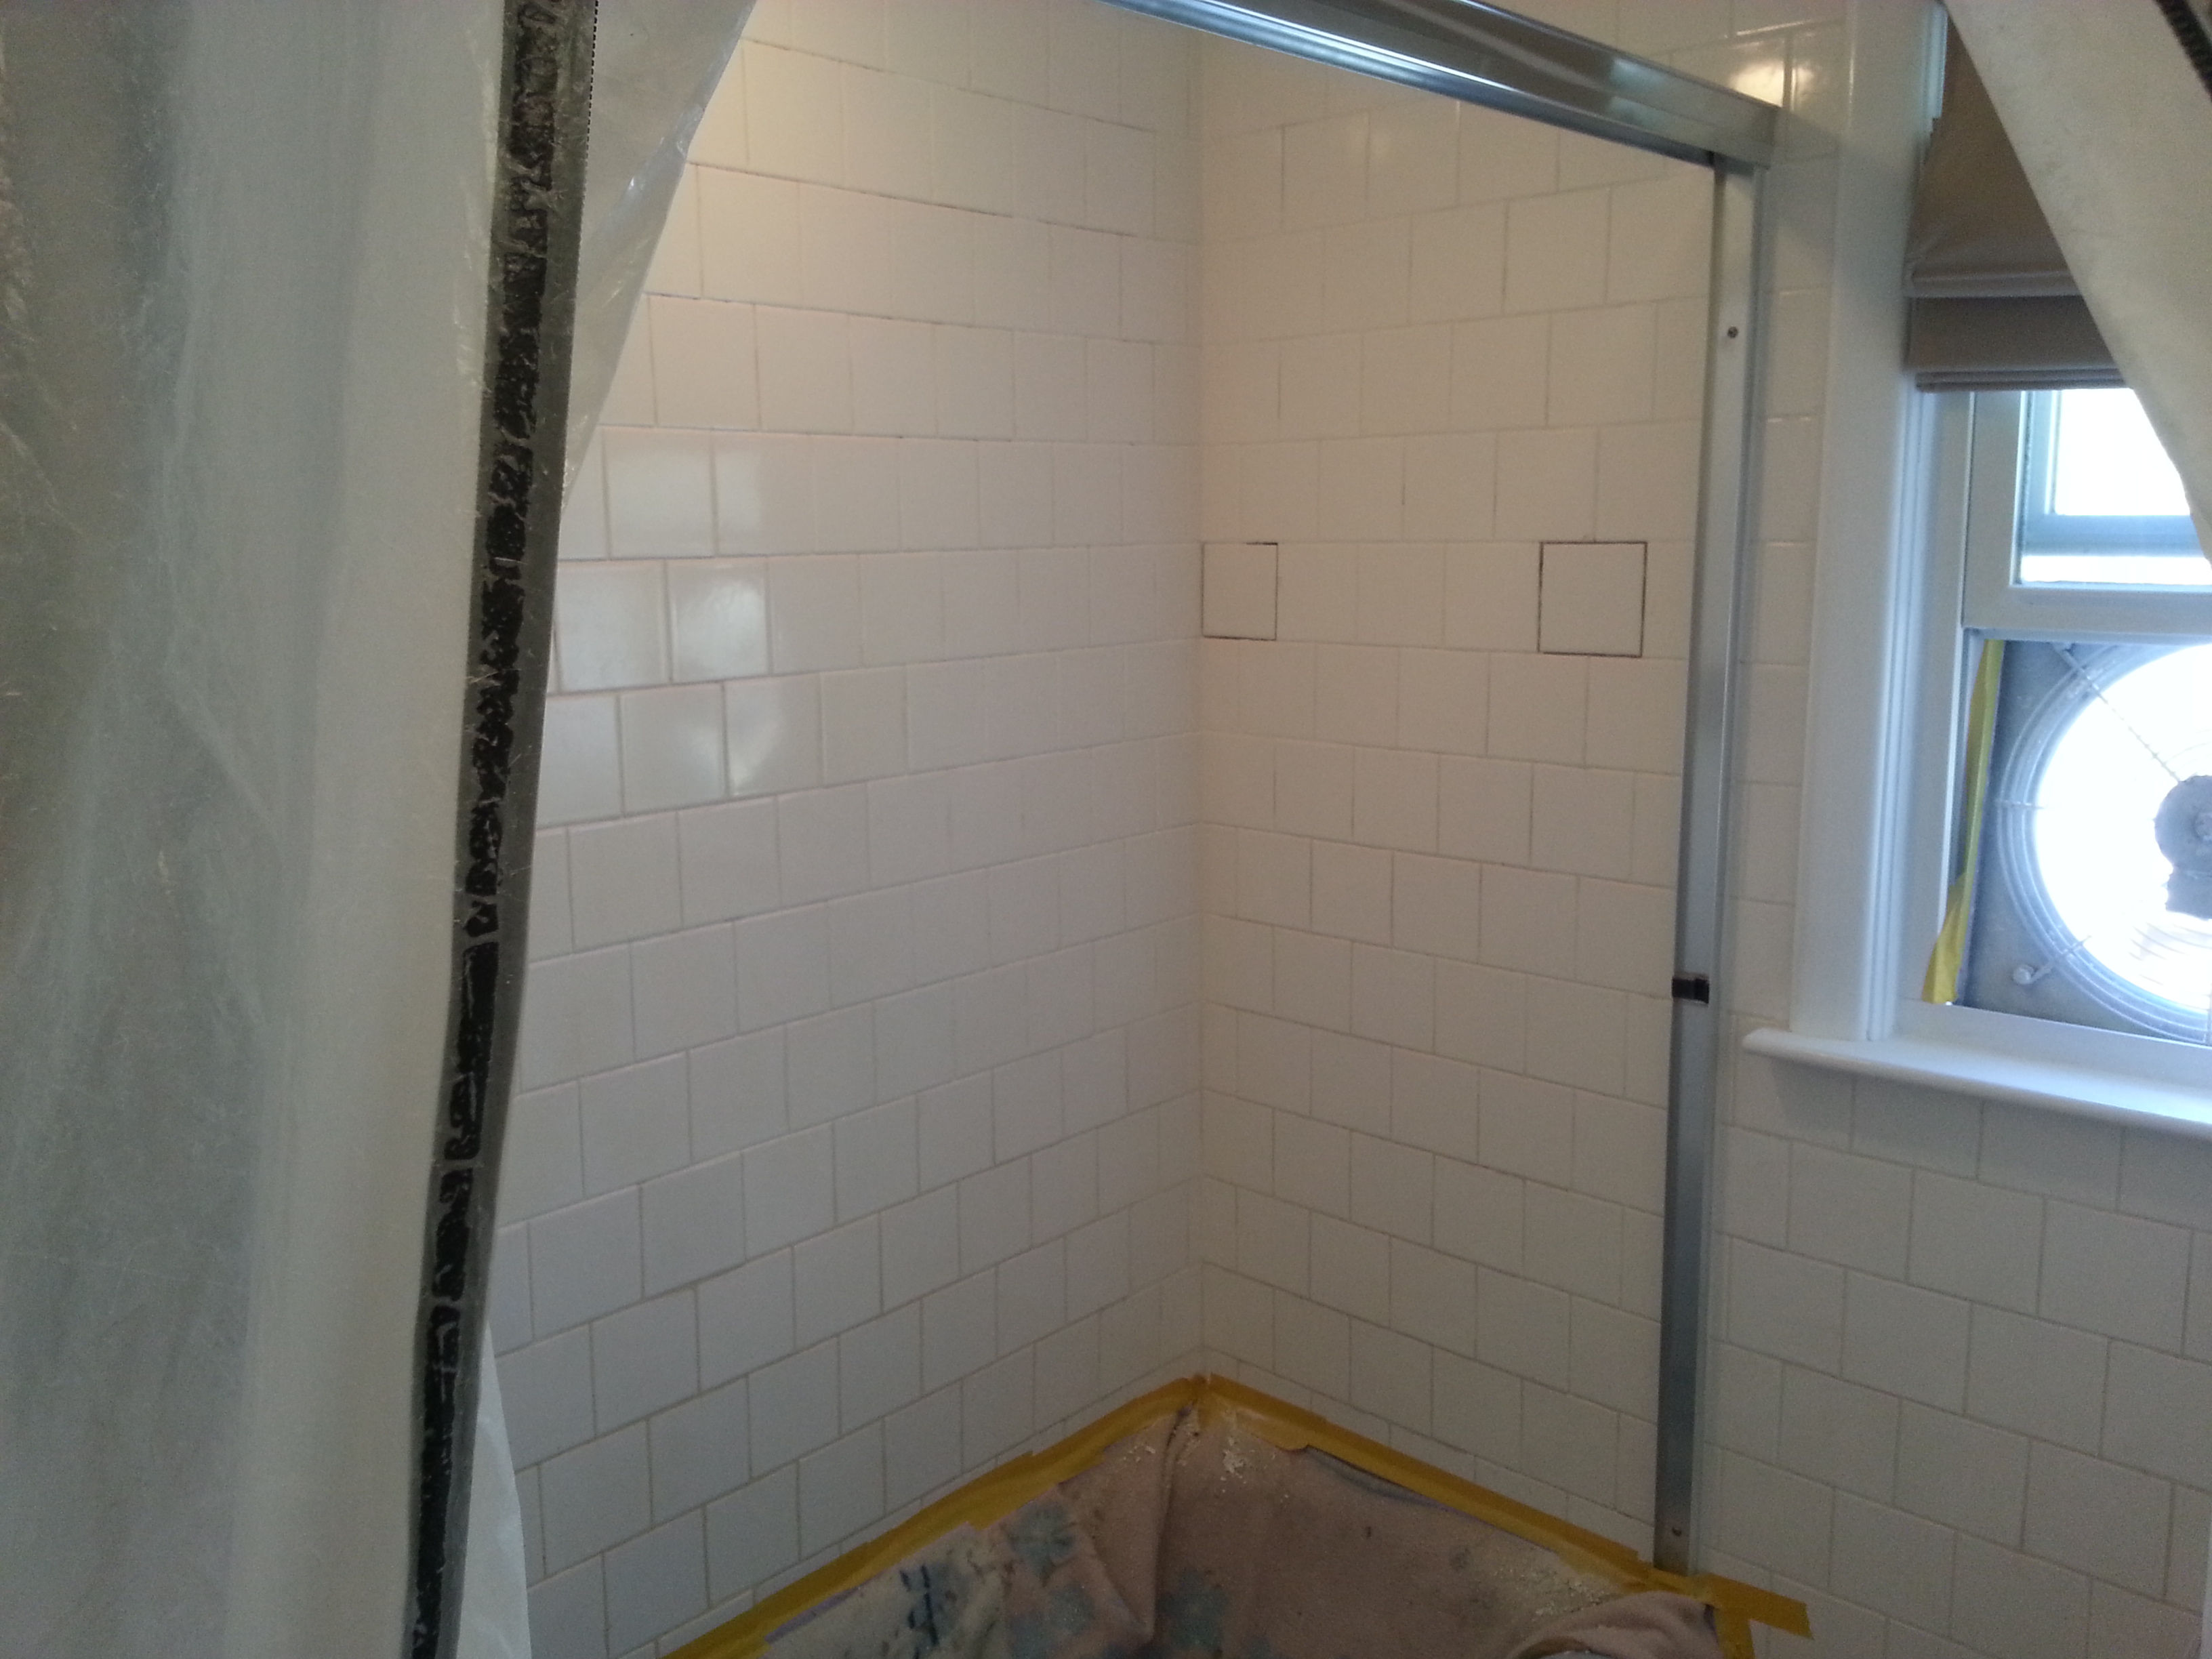
- 5. Drill Pilot Holes. Remove the template and drill out the holes with a hole saw. Cut larger holes with a router and straight bit.

How do you fix a cracked bathtub surround?
You'll probably want to drill one or two more holes closer to the middle of the crack, especially if it's a long one. The foam cures and hardens quickly to provide a solid backing, which makes the repair easier. You can use any type of expanding polyurethane foam to reinforce a bathtub surround that has cracked.
Can a tub surround be removed?
A tub surround is a wall system that is installed over the existing wall around your tub and shower. If your tub surround is cracked, stained or discolored, you may want to remove it to replace it with something else. Tub surrounds are often secured to the wall using adhesive and retaining clips.
How do you caulk around a tub surround?
Run the blade of a utility knife along the top edge of the tub surround between the surround and the wall and along the side edges. Score the line of caulk between the tub edge and the bottom of the tub surround.
How do I remove the adhesive behind the tub surround?
Have a helper cut the adhesive behind the tub surround with a utility knife as you pull it away. Continue to pull the panel away, but work slowly to prevent damaging the wall.
Can you repair a cracked tub surround?
Repair the Crack With Epoxy Mix enough epoxy with hardener to cover the crack and spread it with a plastic putty knife. If you're using fiberglass mesh, lay it directly on the fresh epoxy and smooth the epoxy with the putty knife. Scrape as much excess from the repair as possible to make sanding easier.
Can you repair fiberglass tub surround?
0:1712:12How to Repair a Fiberglass Hole, Waterproof (in Bathtube) - YouTubeYouTubeStart of suggested clipEnd of suggested clipIt's called it's from Devcon home and it's a fiberglass porcelain. And plastic repair kit supposedMoreIt's called it's from Devcon home and it's a fiberglass porcelain. And plastic repair kit supposed to be waterproof. It's meant for bathtubs sinks toilets etc.
How do you fix a cracked shower surround?
2:206:00How to fix a damaged fiberglass tub - shower surround - The Right wayYouTubeStart of suggested clipEnd of suggested clipHere. The next thing we're going to do is we're going to take about half of this out put it on hereMoreHere. The next thing we're going to do is we're going to take about half of this out put it on here put about four to six drop to the hardener and we're gonna mix it. Together.
How do you fix a crack in a fiberglass tub surround?
0:075:48How to Repair a Fiberglass Hairline Crack in a Fiberglass BathtubYouTubeStart of suggested clipEnd of suggested clipSander just to kind of get all the loose. Areas knocked off and then smoothing it out a bit. SoMoreSander just to kind of get all the loose. Areas knocked off and then smoothing it out a bit. So after sanding i'm going to go ahead. And pour some resin down over the crack in the holes.
How do you tell if a bathtub is fiberglass or acrylic?
Look around the tub's edges and see if it appears thinner; this could be an indication that it is acrylic. Acrylic tubs usually come in more colors than fiberglass tubs, as fiberglass tubs are commonly white. Acrylic also feels warmer to the touch than fiberglass, and tubs made of acrylic have smoother finishes.
How do you repair an acrylic shower wall?
Fixing Minor Damage on Fiberglass and AcrylicClean the Area. Clean the damaged area completely with the nonabrasive powdered cleanser.Rinse the Cleaner Residue. ... Apply the Tape. ... Mix the Resin and Hardener. ... Spread the Mixture on Spot. ... Let the Mixture Harden. ... Sand Until Smooth.
How do you repair a plastic shower panel?
3:285:58PVC Shower Wall Cladding installation - YouTubeYouTubeStart of suggested clipEnd of suggested clipYou apply a silicon bead at the back of the panel. And into the bottom fixing trims and fit theMoreYou apply a silicon bead at the back of the panel. And into the bottom fixing trims and fit the panel firmly into. Place. Press to the wall all over to ensure you have a good secure.
How do I fix a hole in my acrylic tub surround?
How to Patch and Filling Screw Holes in a Fiberglass Bathtub – 7 StepsSection Off Area with Painter's Tape. ... Squeeze & Mix the Epoxy. ... Fill in Screw Holes with Epoxy. ... Brush Extra Epoxy on Holes. ... Place Plastic on the Epoxy and Tap Over Them. ... Sandpaper Over the Holes. ... Peel Tape Off & Sandpaper Again.
Will Flex Seal tape work on a bathtub?
We do not recommend using Flex Tape to repair the crack in your bathtub. Customers are constantly using the products for purposes beyond their intended use with mixed results. Many people have had success using Flex Seal Liquid on the walls of their bathtubs.
How do I fix a crack in my bathtub wall?
0:003:14How to fix a Crack Hole in Bathtub - Fiberglass - YouTubeYouTubeStart of suggested clipEnd of suggested clipThey usually come with some kind of a putty a liquid hardener and fortunately with this one it comesMoreThey usually come with some kind of a putty a liquid hardener and fortunately with this one it comes with some sandpaper and mixing stick to make this a little bit easier.
How do you fix a hairline crack in a fiberglass shower?
How to Fix a Hairline Crack in a Fiberglass Tub in 8 Simple StepsStep 1: Clean & Dry the Area around the Hairline Crack. ... Step 2: Sand the Area That Surrounds the Crack. ... Step 3: Add the Adhesive. ... Step 4: Fill the Hairline Crack with the Filler. ... Step 5: Repeat Step Two, But Now with a Fine-Grit Sandpaper.More items...
Can you patch a plastic bathtub?
Thankfully, you can patch up a small crack and keep the tub in working condition rather than spending thousands in a bathroom remodel.
Can you patch fiberglass tub?
No matter how bad a crack or an indentation may look, the process is the same as if it was a little pit. In either case, it's surprisingly simple. By using a basic epoxy kit with a few essential items, repairing a fiberglass tub takes as little as one day, with most of that time spent as the compound dries.
How do you fix a crack in a fiberglass tub shower?
0:003:14How to fix a Crack Hole in Bathtub - Fiberglass - YouTubeYouTubeStart of suggested clipEnd of suggested clipThey usually come with some kind of a putty a liquid hardener and fortunately with this one it comesMoreThey usually come with some kind of a putty a liquid hardener and fortunately with this one it comes with some sandpaper and mixing stick to make this a little bit easier.
How do you fix a crack in a plastic bath panel?
0:053:13Destroyed broken bath panel... fixed!! DIY easy repair mend bargain save ...YouTubeStart of suggested clipEnd of suggested clipAnd then use this 99 eu glaze and go silicon. Which is made for sticking windows plastic everythingMoreAnd then use this 99 eu glaze and go silicon. Which is made for sticking windows plastic everything on the inside of the panel. So first off i'm running it exactly along the crack as near.
How do you fix a fiberglass shower base?
3:459:43How To Repair A Cracked Shower Base: Freedom Finishes ... - YouTubeYouTubeStart of suggested clipEnd of suggested clipBasically you're going to apply a resin down over the area that's cracked you're going to layer on aMoreBasically you're going to apply a resin down over the area that's cracked you're going to layer on a sheet of fiberglass mesh netting you're going to smooth out that surface and let it cure.
How much does it cost to install a tub surround?
Hiring a certified fabricator to cut and install the material will cost $700 to $800 for a three-wall, 5-ft. tub surround. But you can purchase a prepackaged kit (about $600) and install it yourself.
How to test if silicone panel fits over pipe?
Test-fit the end panel to ensure that it fits over the pipes, then spread silicone on the wall and press the panel into place and go over it with a J-roller. Repeat for the opposite end panel.
How to make a wall with silicone?
Begin by applying continuous beads of silicone adhesive to the entire wall in a gridwork of horizontal and vertical stripes. Space the beads about 6 in. apart and apply a double bead of silicone along the top and bottom of the wall, which will provide extra holding power.
How long does silicone tile take to dry?
Allow the silicone to dry for 24 hours before removing the tape and using your newly finished tub.
How to repair tub surround
I am renting this house and the tub surround caulking is all molded and in one place it looks like it is actually rusting up about 2" or so, I don't think caulking will fill it up that high. Any suggestions? I will try to add a photo but Im not very good with my iPhone yet
Comments (8)
It has to be mold in behind it too, with all that mess. Have you told your landlord? That absolutely cant be healthy for you or anyone else to be breathing in all those mold spores.
Why does my fiberglass tub crack?
Fiberglass tubs may crack if they’re poorly supported underneath, or if someone drops a heavy object in the tub and damages the fiberglass. They can also crack if the fiberglass is worn down by harsh, abrasive cleaners, such as bleach.
How long do fiberglass tubs last?
Fiberglass tubs are fairly delicate. With proper care, they will typically last about 10-15 years.
How to make a resin light fixture white?
Add the colorant from the correct tube that came with the kit. An example would be for almond, mix 5 parts white with 1 part brown, to 20 parts of resin. For basic white, use the white colorant added until the resin is thoroughly opaque. Mix these components thoroughly, and check the color against the fixture you are repairing before adding the hardener.
How wide is a crack in a resin?
If it does not, skip to the step describing mixing and tinting instructions. If the crack is over one fourth of an inch (1/2 cm) wide , or is actually an open hole that the resin mixture will not fill alone, cut a piece of fiberglass mesh or cloth slightly larger than the hole.
How to repair a glass window?
Clean the area to be repaired. Cut any jagged or protruding glass fibers around the damaged area, sand it lightly with a medium grit sandpaper to remove wax, oil, soap scum, or other surface contaminants, and rinse with acetone or another solvent to assure proper adhesion of the repair product. ...
What to use for cracks in fiberglass?
Large cracks or holes will require using fiberglass reinforcing mesh or cloth, which will usually come with the kit you purchase. This may make the repair a little more difficult, and you may even want to seek help from someone who has experience using it.
How to repair a patch on a wall?
Begin with a fairly coarse grit of sandpaper, depending on how much of the patch has to be removed to make it flush with the original surface. Work your way from a coarse or medium grit to a fine, then very fine grit sandpaper, until the repair is smooth.
1. Take All Necessary Safety Precautions
Put on safety glasses, long sleeves, pants and work gloves. Turn off the water supply either at the tub’s shutoff valve or the main house shutoff, advises Home Depot. The tub’s shutoff valves are usually located behind the shower wall. Access is usually gained through a panel behind the shower wall or the wall in an adjacent room.
2. Remove the Faucet Screws
Loosen and remove the screws securing the faucet handles with a screwdriver, and then remove the faucet handles and set them aside.
3. Remove the Shower Head
Cover the connecting nut that fastens the shower head to the arm with a cloth. Grab the arm close to the wall and turn the connecting nut counterclockwise with an adjustable wrench to remove the shower head from the arm.
4. Take Off the Tub Spout
Loosen and remove the set screw under the tub spout using a screwdriver, instructs Home Repair Tutor. If you cannot find a set screw, then try turning the spout counterclockwise with an adjustable wrench. Some spouts thread directly onto the water pipe.
5. Cut Rivets With a Utility Knife
Cut any rivets on the tub surround with a utility knife. Your surround may not have rivets, but some use these to fasten the surround to the wall.
6. Place the Utility Knife Between the Surround and Wall
Run the blade of a utility knife along the top edge of the tub surround between the surround and the wall and along the side edges. Score the line of caulk between the tub edge and the bottom of the tub surround.
7. Remove the Retaining Trim
Lift up on the retaining trim and remove it from the tub surround. Some tub surrounds may not have retaining trim, but if yours does, it usually is not glued in place. Retainers are typically installed along the top of the tub surround and down each side.
